It’s summer! For me this meant another season in Edinburgh but with some sun. For some of those at university it meant moving back home or even graduating. Which is what I suppose happened when I saw some books and other belongings by the pavement with a sign saying they’re free while on a walk around Sciennes. Among those was an Epson Workforce WF-2630.
Context
Now have you ever looked at something and immediately your mind goes: poggers. I reckon a used fax printer isn’t one of those items that’d stir up such emotion. But I was itching for a summer project, so with a grin on my face, I went up to the girl that was giving it away, and asked if it still worked… Guess what? It works. So I took it home and started tearing it apart.
What’s the goal?
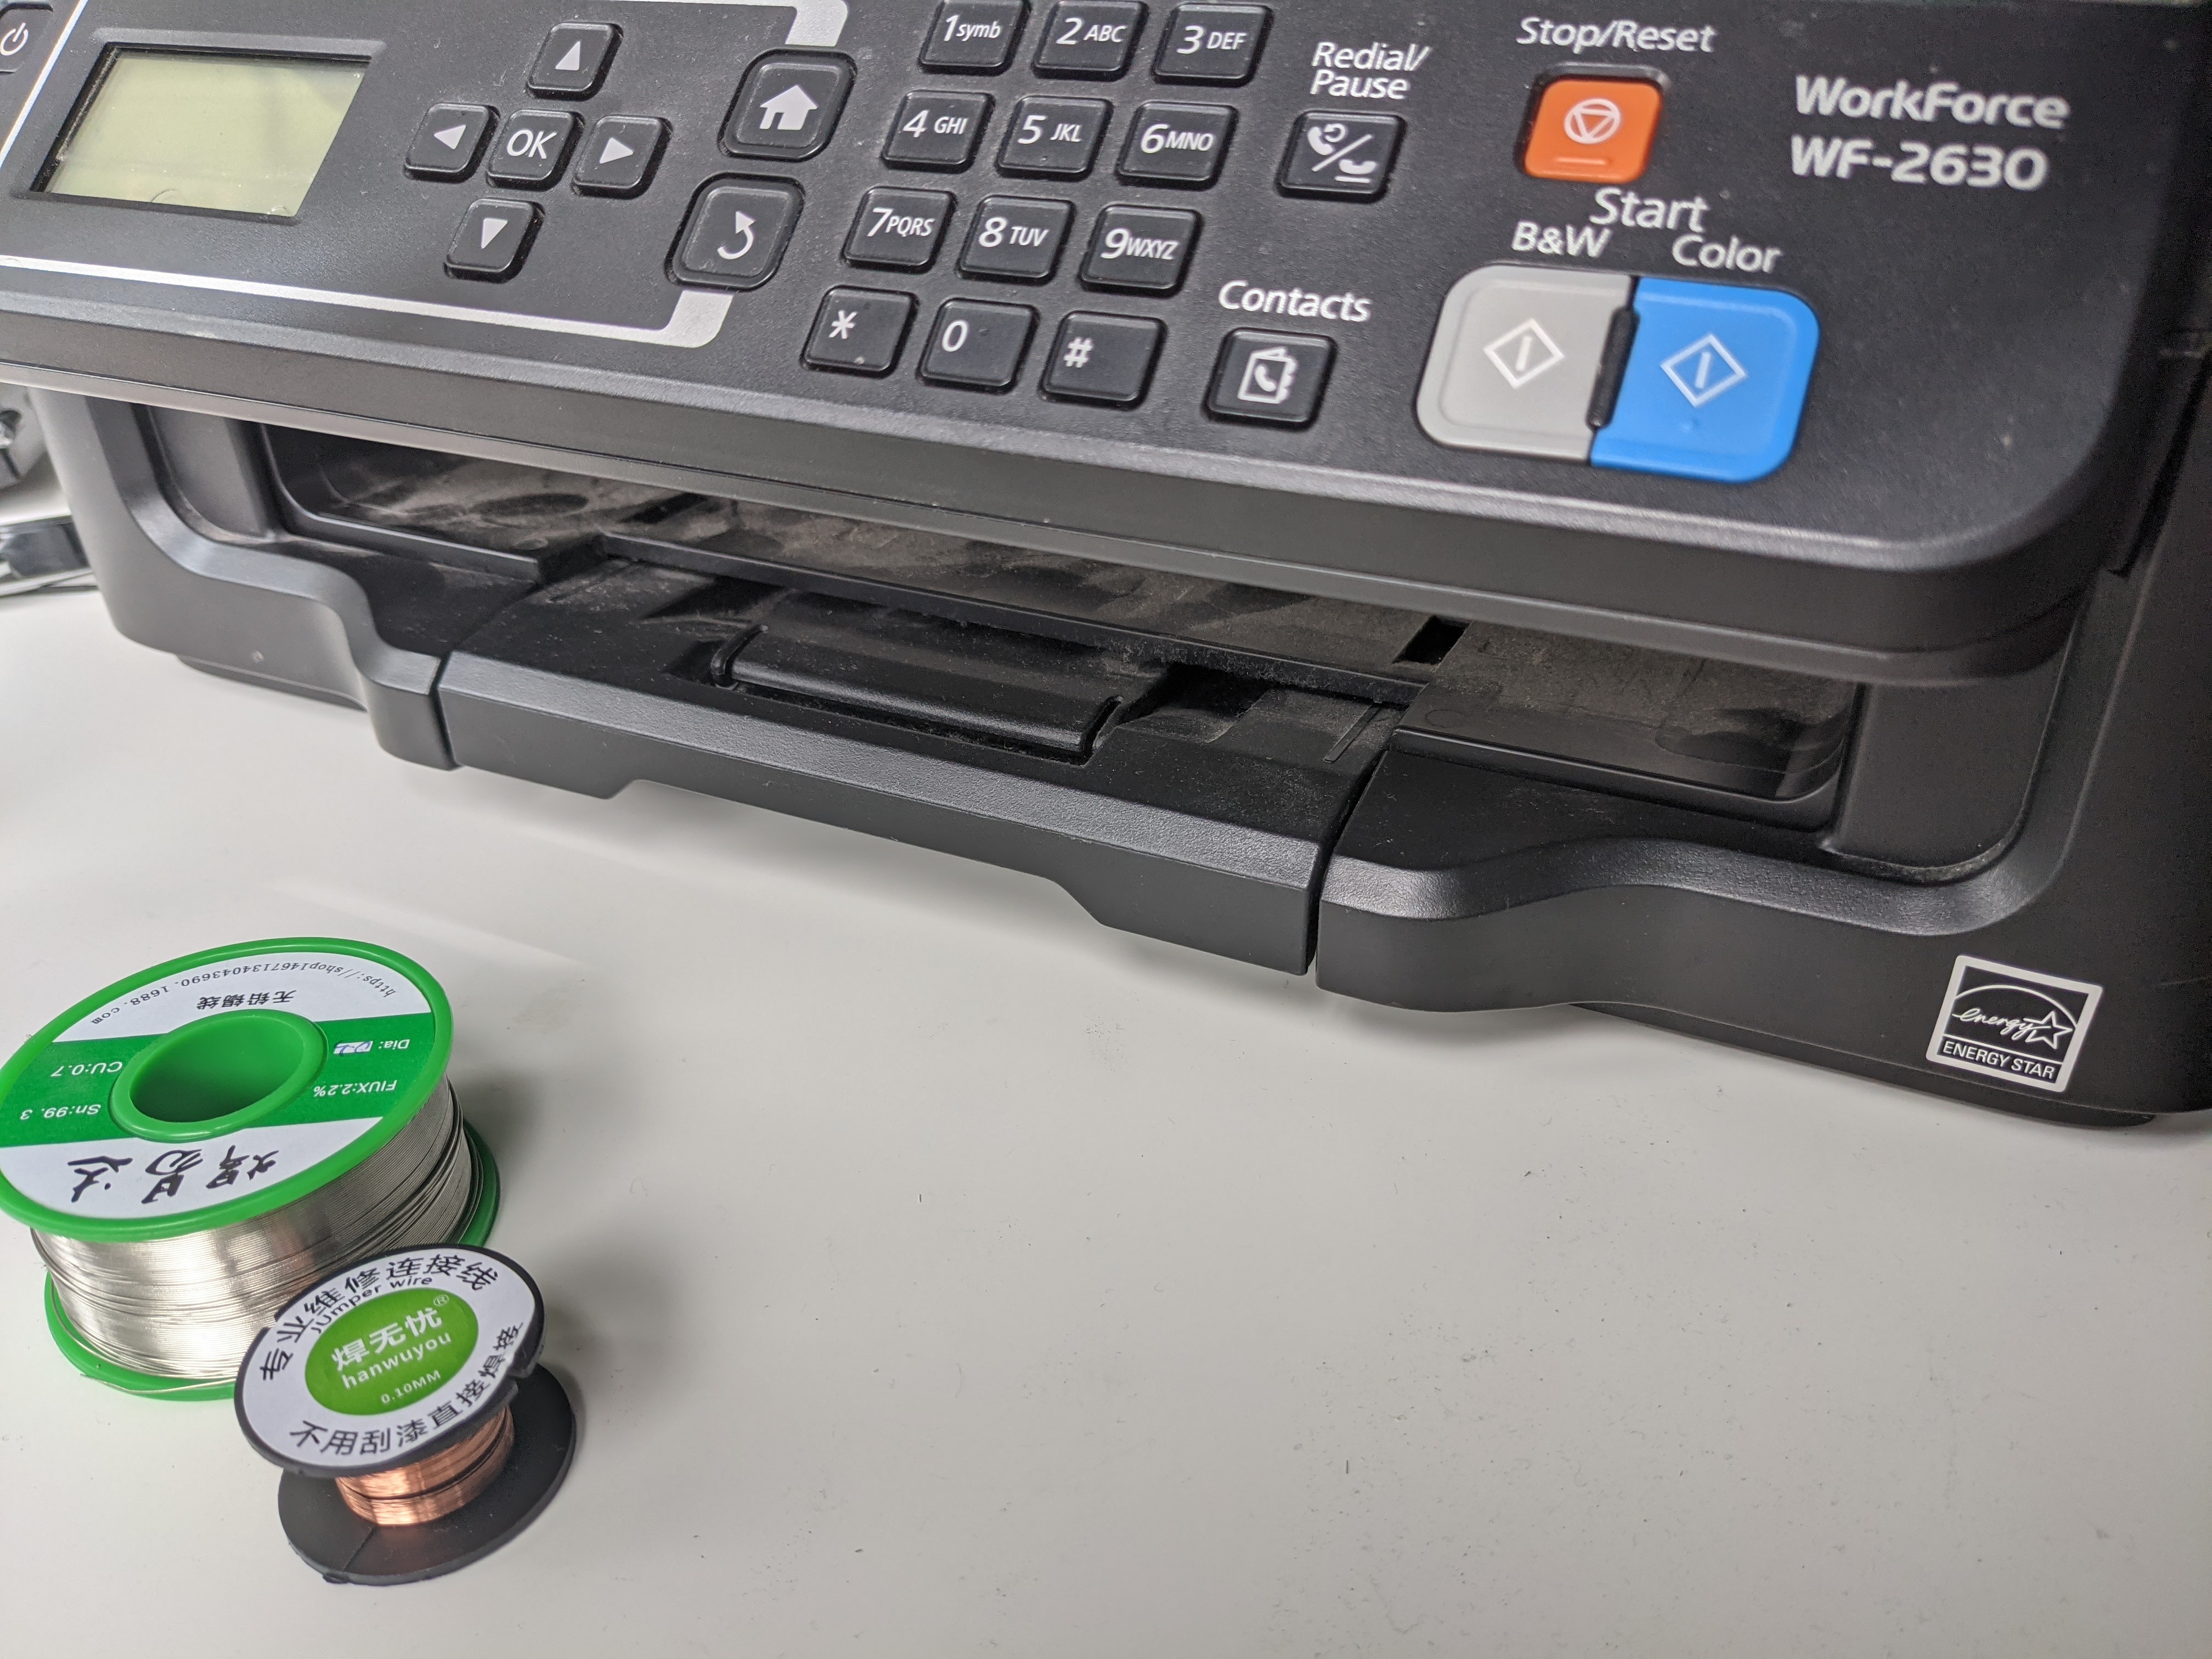
The soft mono-colour LCD panel and 4 arrow navigation buttons on the control panel reminded me of the Gameboy Classic. So maybe with this early 2010s printer, I might be able to emulate a late 1980s handheld console, more specifically run Pokemon Red.
This post is the first of hopefully a successful series, since at the time of writing, I have yet to complete this project. But I absolutely intend to throw a good amount of spare time at this.
Reverse Engineering
Before opening up the printer, I took a look at its firmware and network services to map out any easy attack vectors.
Network Services
I connected the printer to a local network and ran a scan on nmap, the following are the results.
Nmap scan report for 192.168.37.182
Host is up, received arp-response (0.057s latency).
Scanned at 2021-07-28 12:04:24 BST for 316s
Not shown: 993 closed ports
Reason: 993 resets
PORT     STATE SERVICE      REASON         VERSION
80/tcp   open  tcpwrapped   syn-ack ttl 64
| http-methods:
|_  Supported Methods: GET HEAD POST
|_http-server-header: EPSON_Linux UPnP/1.0 Epson UPnP SDK/1.0
|_http-title: Site doesn't have a title (text/html).
139/tcp  open  netbios-ssn? syn-ack ttl 64
443/tcp  open  tcpwrapped   syn-ack ttl 64
445/tcp  open  microsoft-ds syn-ack ttl 64 Epson printer smbd
515/tcp  open  printer      syn-ack ttl 64
631/tcp  open  tcpwrapped   syn-ack ttl 64
| http-methods:
|_  Supported Methods: GET HEAD POST
|_http-server-header: EPSON_Linux UPnP/1.0 Epson UPnP SDK/1.0
|_http-title: Site doesn't have a title (text/html).
9100/tcp open  jetdirect?   syn-ack ttl 64
MAC Address: 64:EB:8C:51:EF:9B (Seiko Epson)
Service Info: Device: printer

# Nmap done at Wed Jul 28 12:09:40 2021 -- 1 IP address (1 host up) scanned in 316.76 seconds
I did some poking around but didn’t spot any low hanging fruits like unauthenticated telnet or ssh with default credentials. Not wanting to get bogged down, I moved on to the next step, which is to dump the firmware.
Firmware
Epson provided the printer’s firmware as an update on their site. It is only available selected operating systems, so if you’d like to following along, select macOS 10.15 or Windows 10 64 bit.
The macOS package came with an EFU file, which was a zip archive that contained an RCX firmware package. RCX file contains the following in its header: SEIKO EPSON EpsonNet Form. The exact format is not know, however I believe debugging the printer would yield what handles this format.
Binwalk on the RCX file found squashfs images and Linux kernel Linux-2.6.35.8-arm1. This is a very old kernel version, and I think some exploits are available.
The firmware suggests that the printer has a BCM43143 WiFi chip, and /etc/passwd suggests that there are FTP interfaces.
❯ tree _FWE728TL.rcx.extracted/squashfs-root -L 2
_FWE728TL.rcx.extracted/squashfs-root
├── bin
...
├── root
│   └── PreBoot
...

41 directories, 119 files
The PreBoot file might be one of the scripts run relatively early (hence pre-boot).
In short, it will mount filesystems, start the serial console, setup networking, and start something called nwsoc.
I think I wasn’t getting the full picture as I couldn’t find certain files referenced in the firmware So I had to keep moving.
Dismantling
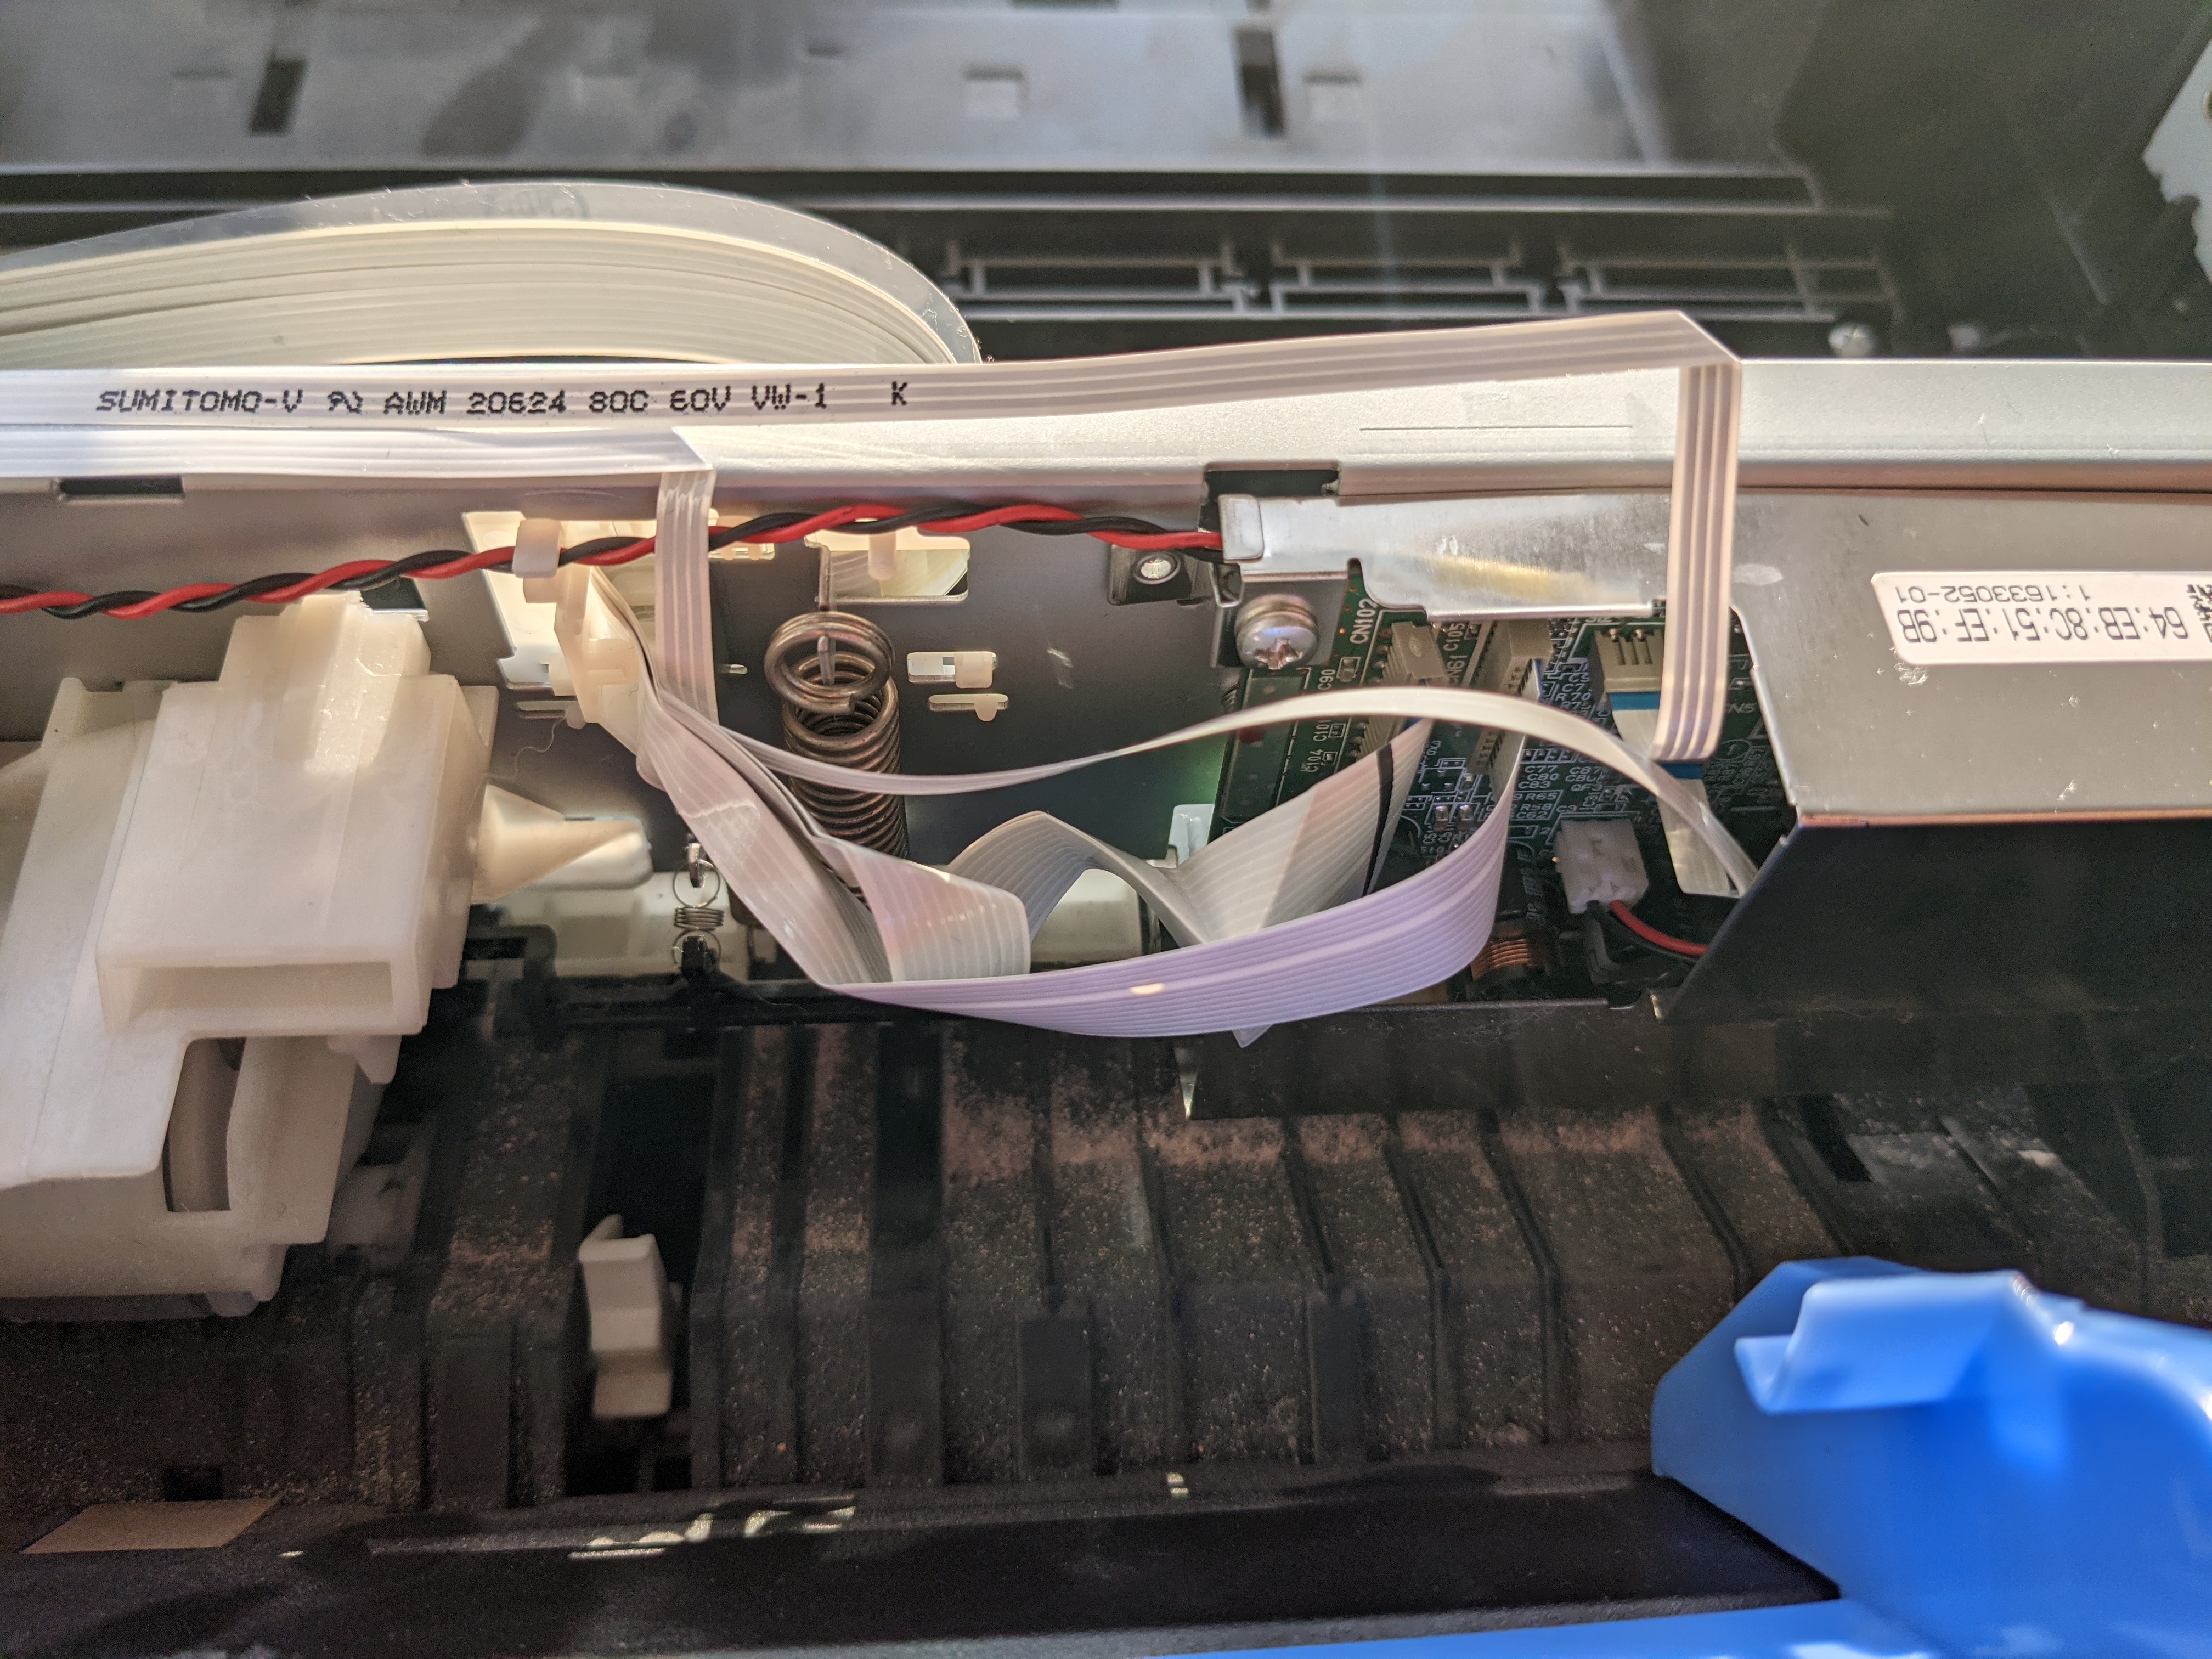
With the findings in mind I set off to dismantle the printer and get to its logic board.
The goal is to answer a few questions:
- What is the system-on-chip?
- What debug ports are there if any?
- How large is the ROM?
- How large is the RAM?
The following is the front of the logic board.
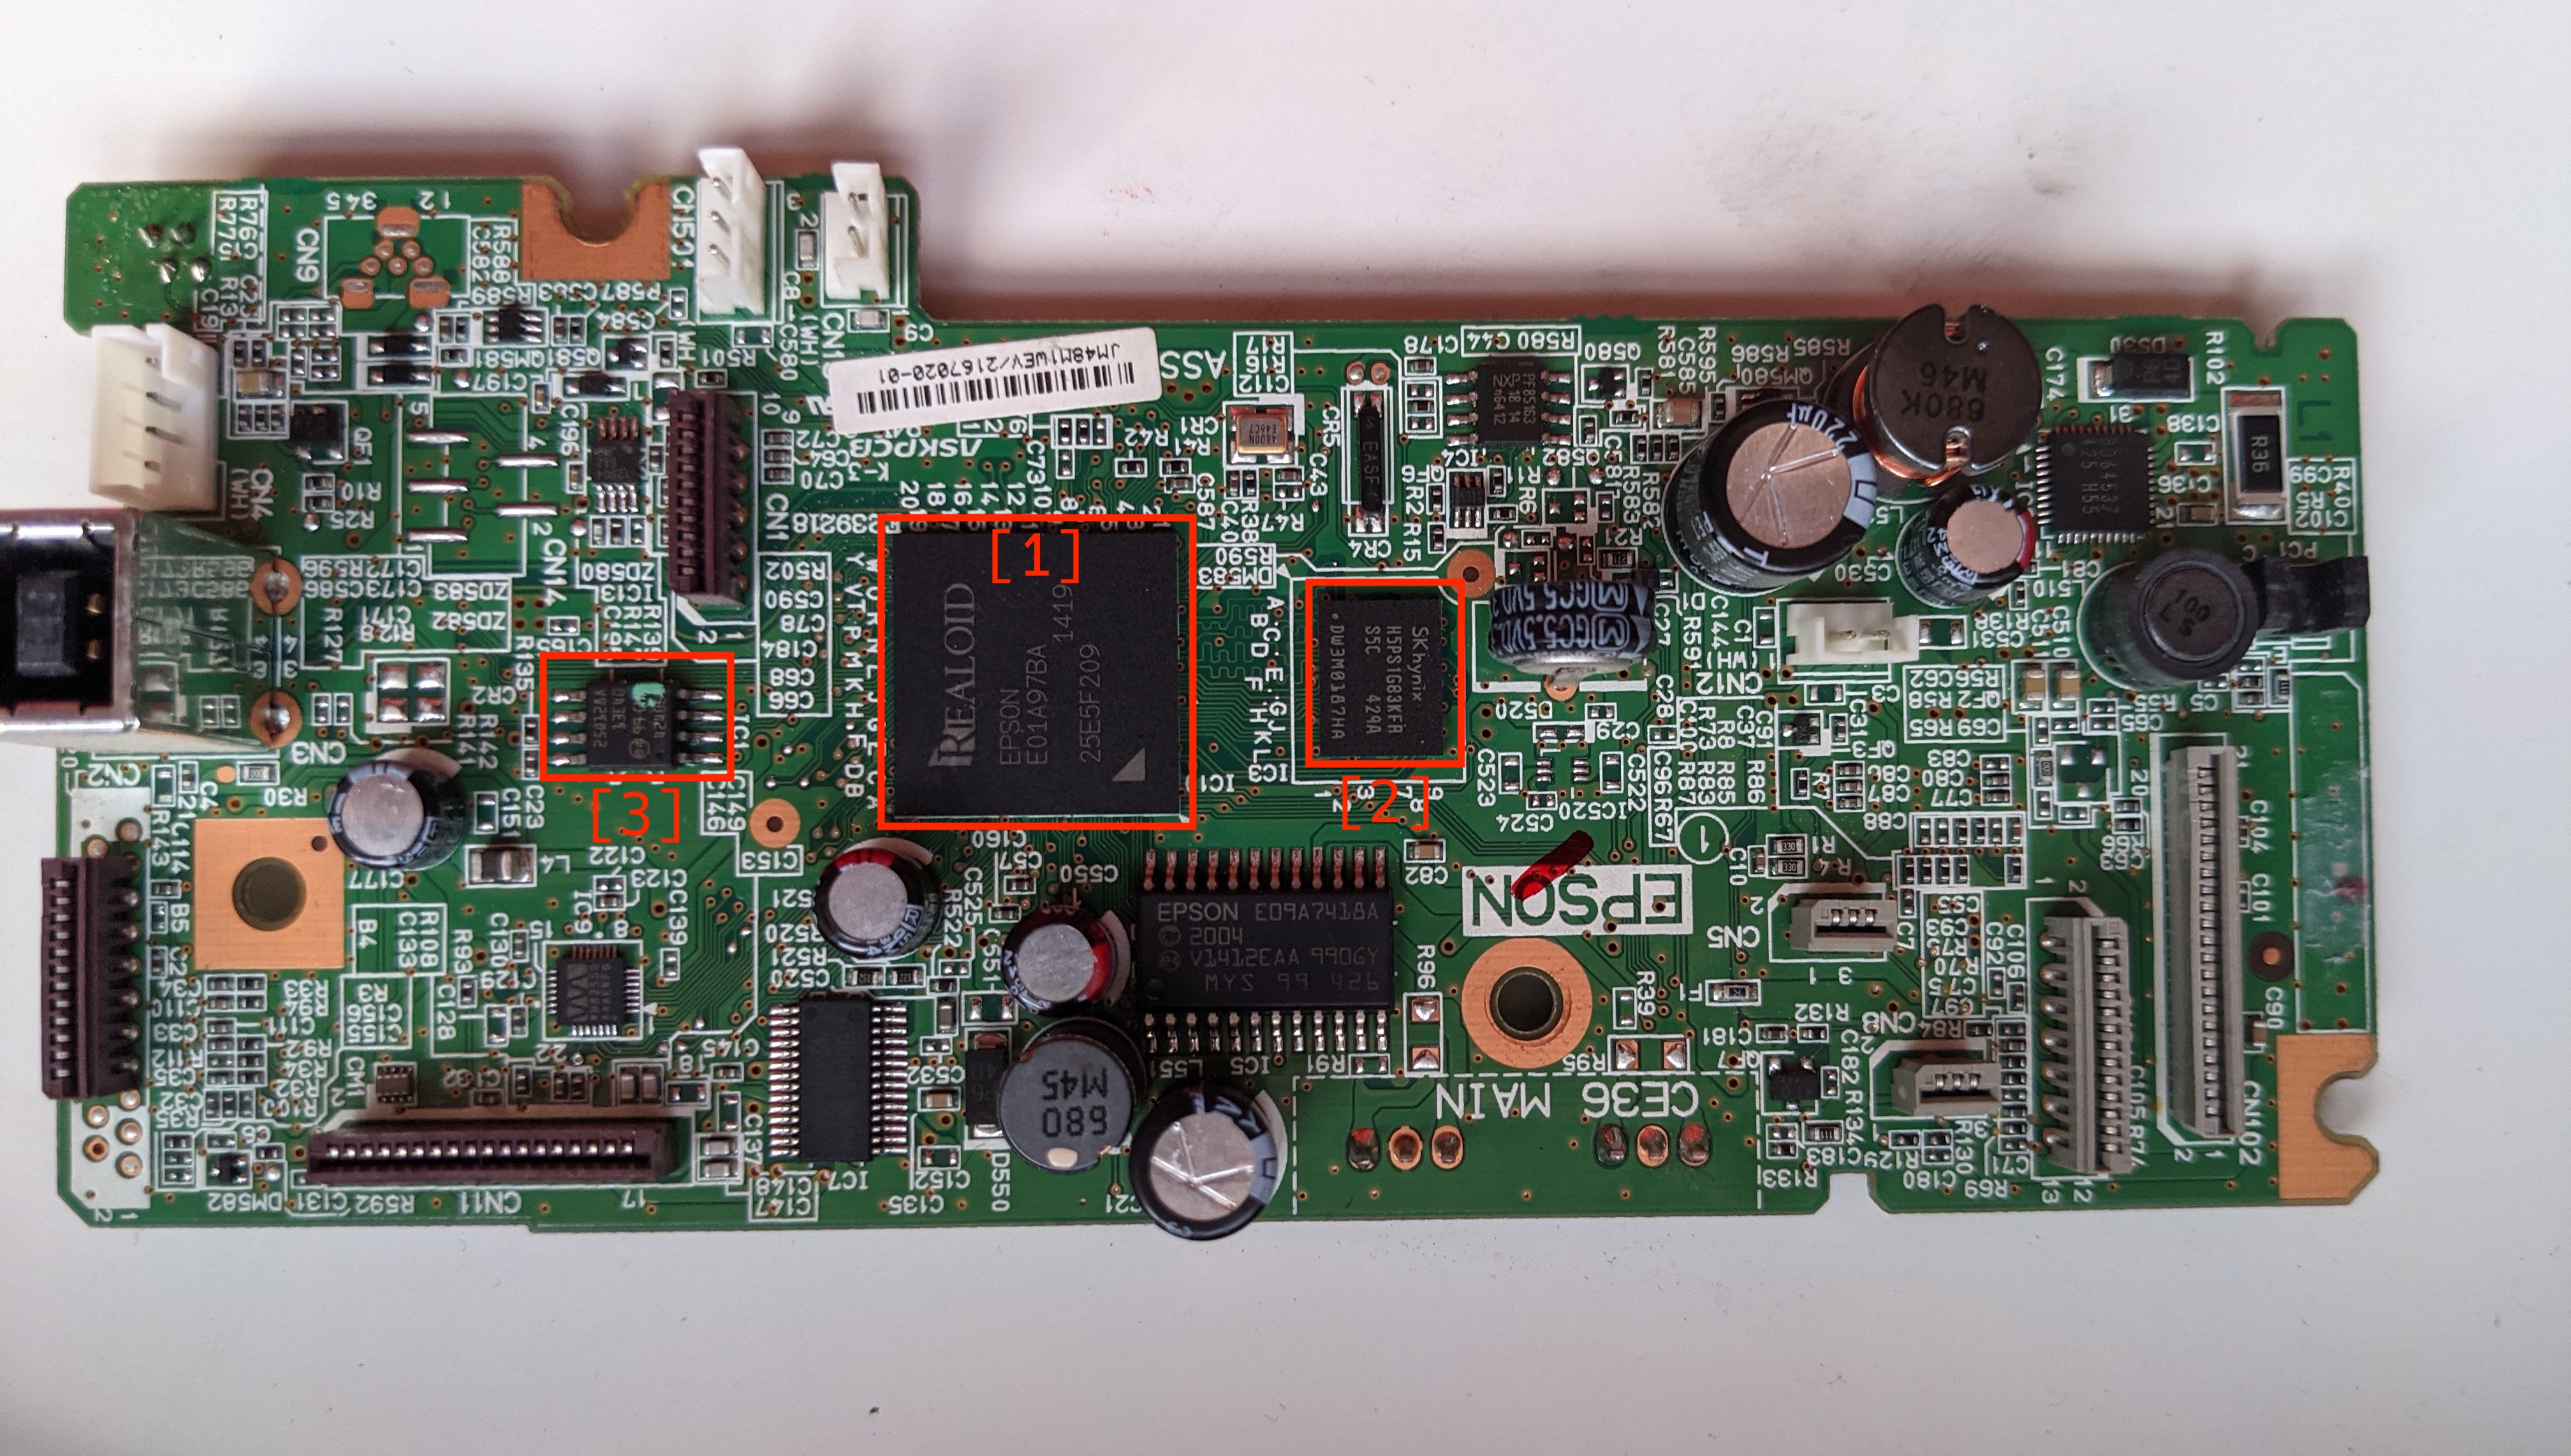
- The chip labeled is the proprietary system-on-chip, I was not able to find any information on this other than it has an ARMv5 core.
- This is a H5PS1G83KRF-S5C, the datasheet indicates that it contains 1GiB of DDR2 SDRAM.
- I suspect this is a 128MiB flash memory IC which is described here.
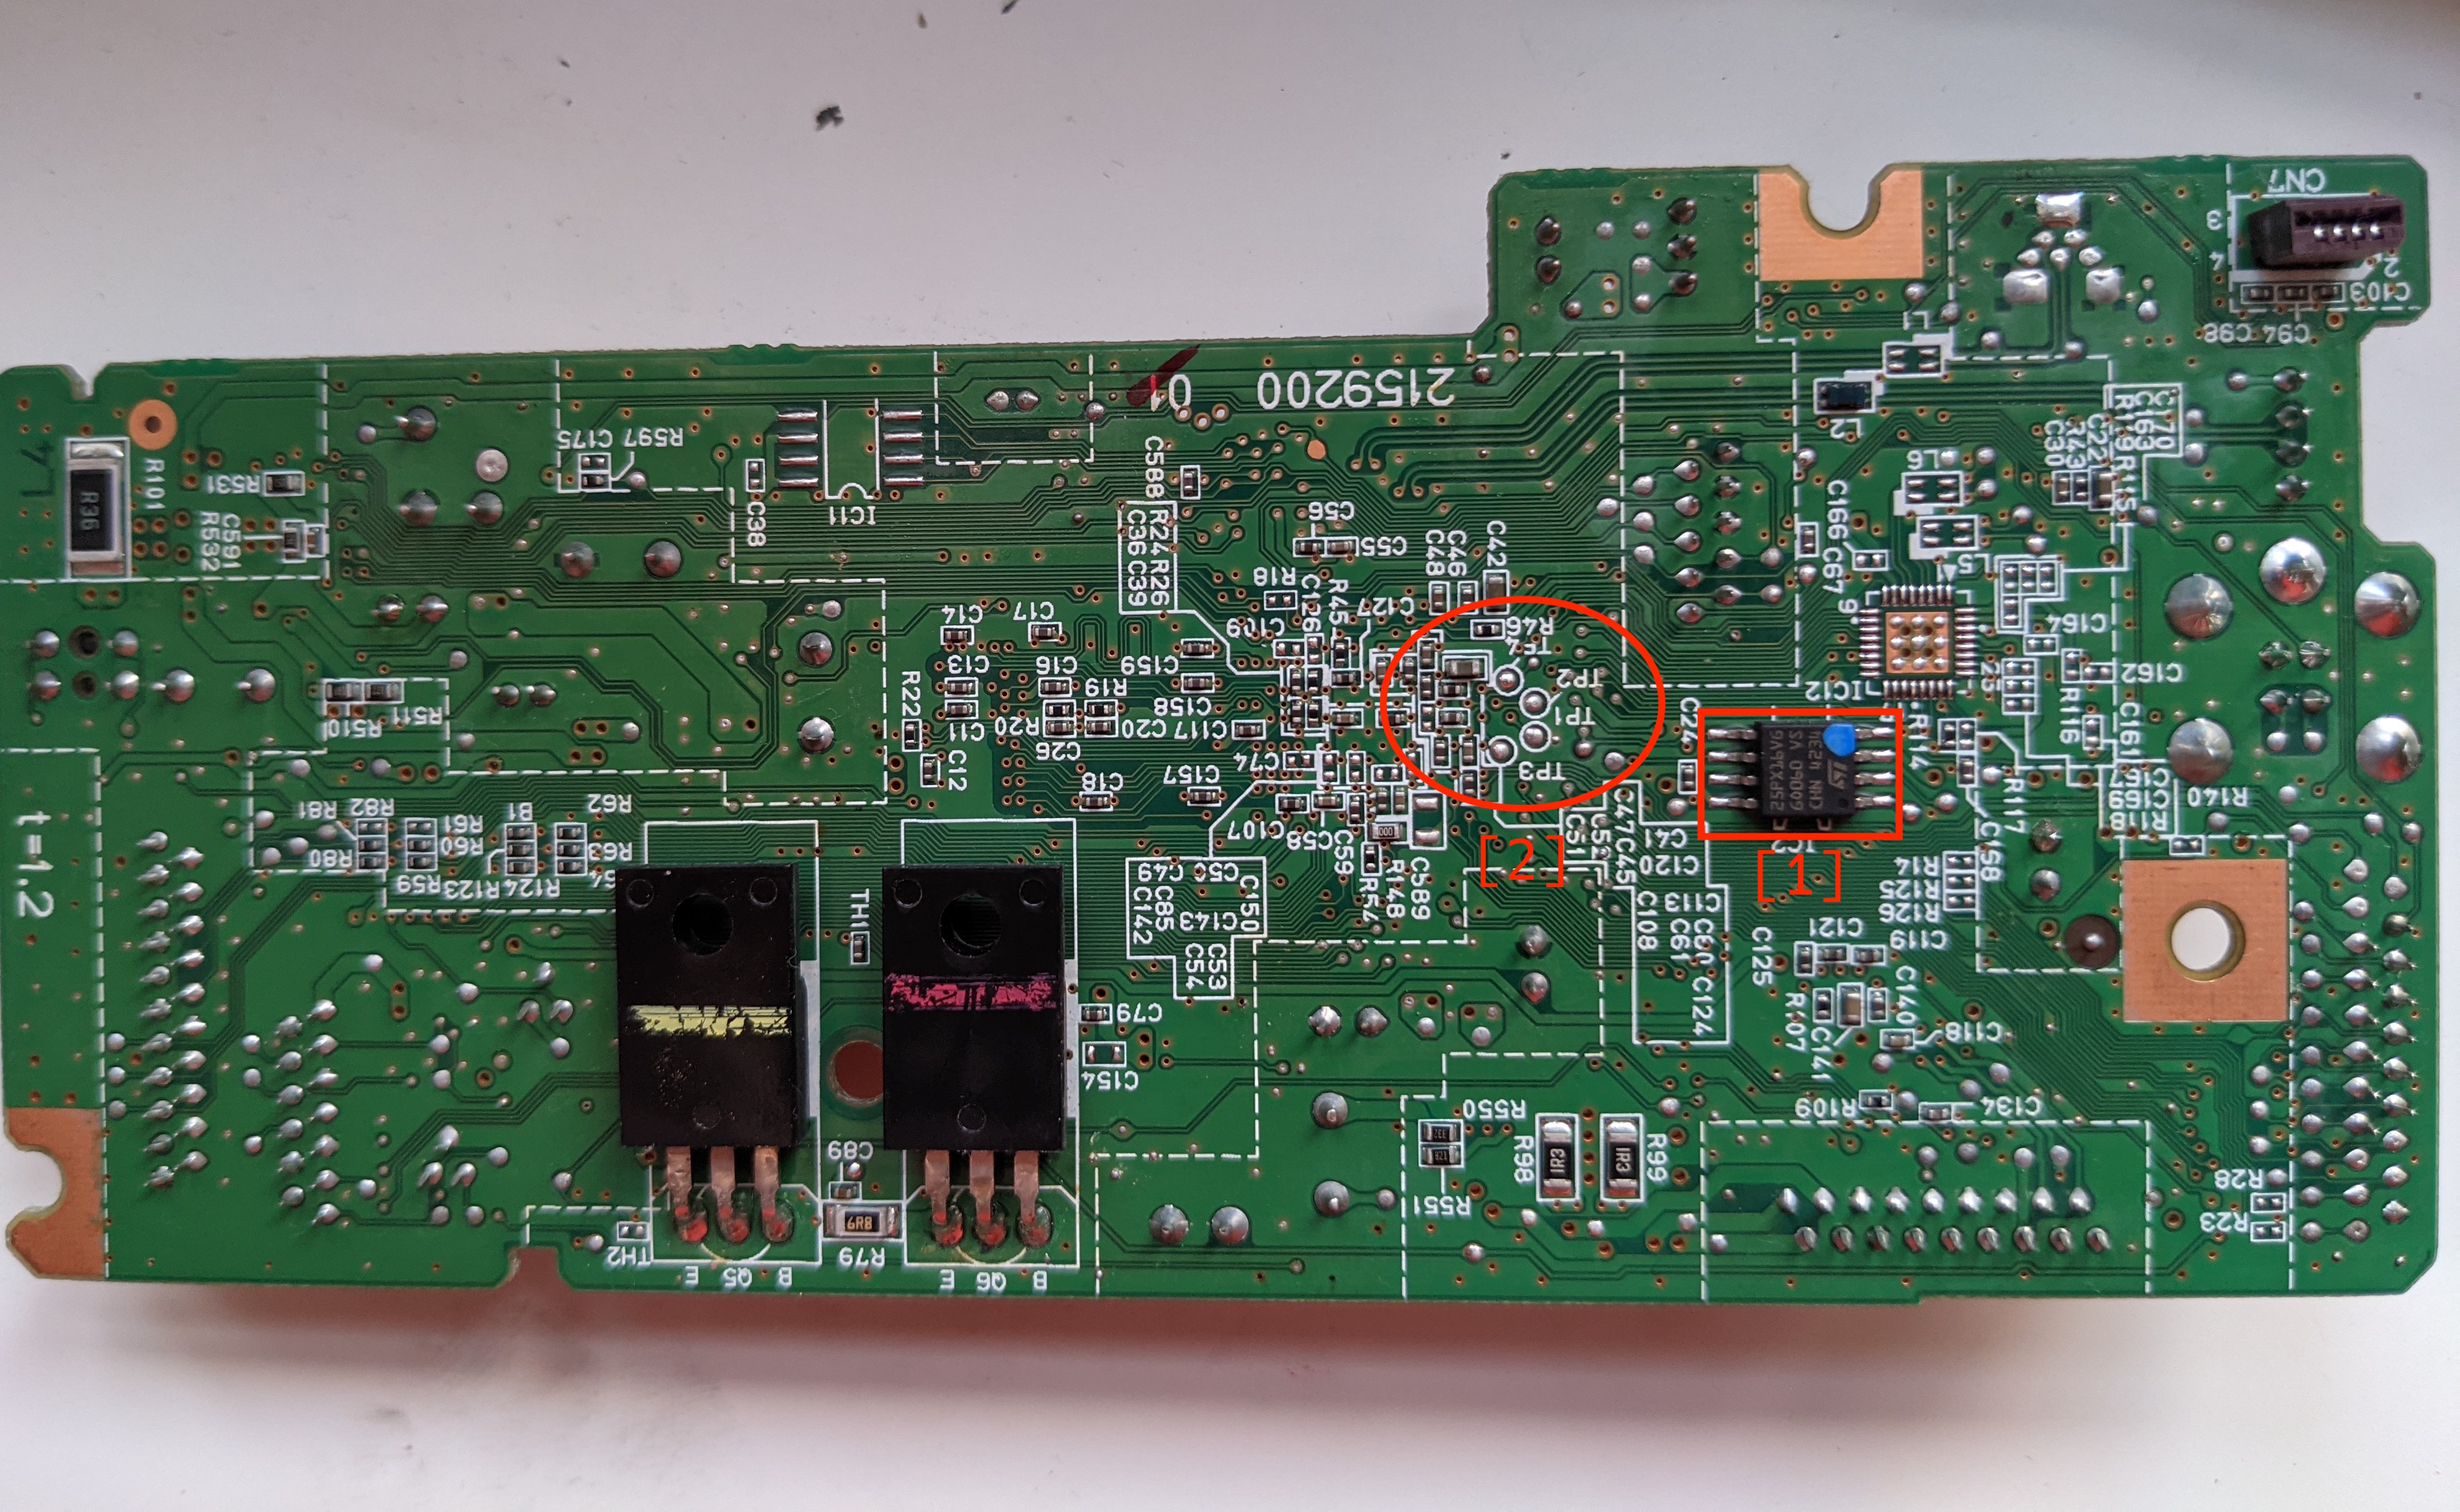
- This another flash memory IC.
- There are labelled test points on this side of the board, I suspect that these are for the serial console.
Going back to the goal, the printer must meet or exceed the hardware that the Gameboy Classic has.
| Gameboy Classic | WF-2630 | |
|---|---|---|
| CPU | 8 bit 4.19Mhz | 32 bit ARMv5 |
| Memory | 8 KiB S-RAM | 1GiB DDR2 SDRAM |
| Display | 160x144 pixels | Unknown |
So far so good.
Test points
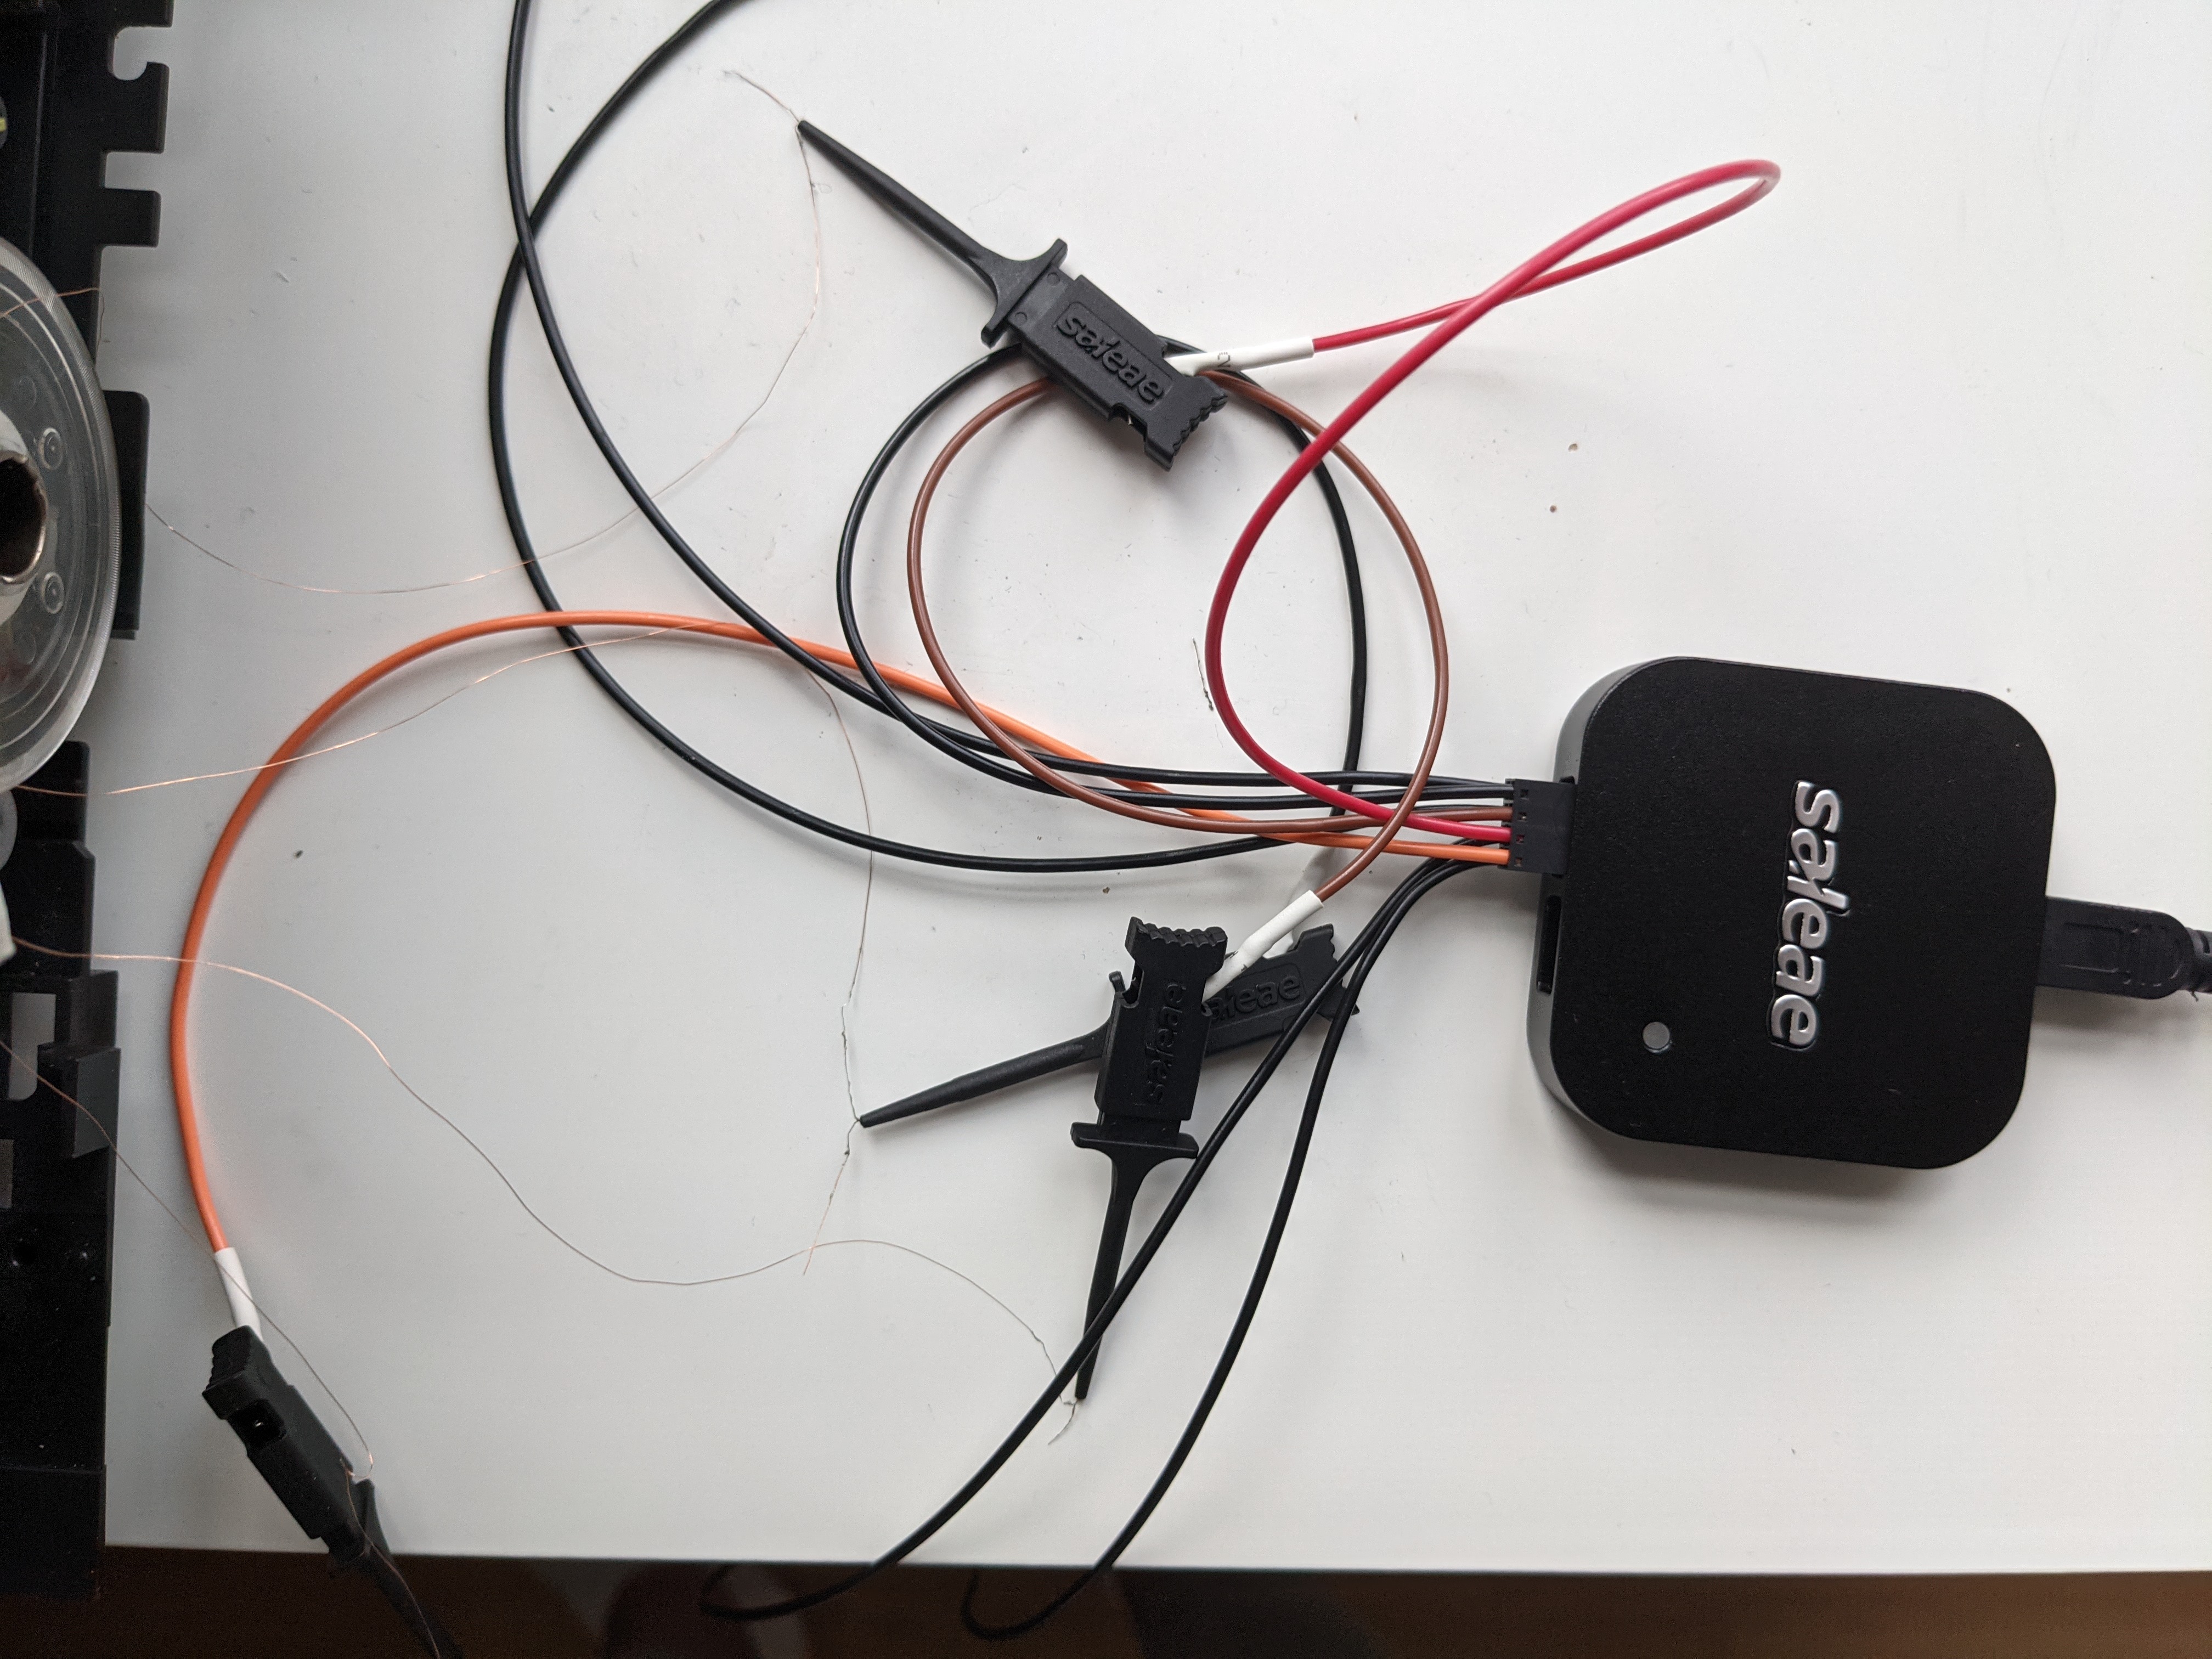
I soldered on some enamel wires and hooked up a logic analyser to the point points.
Here’s the capture when starting the printer with all the peripherals disconnected. The shortest pulse I can find is around 8.6 microseconds, which lands it somewhere around the common baudrate of 115200.
On the right is a terminal showing what channel 1 is transmitting, which is the boot process here. So from this, test-point 2 is serial TX. One of the others should be serial RX, and I will just trial-and-error to find out which.
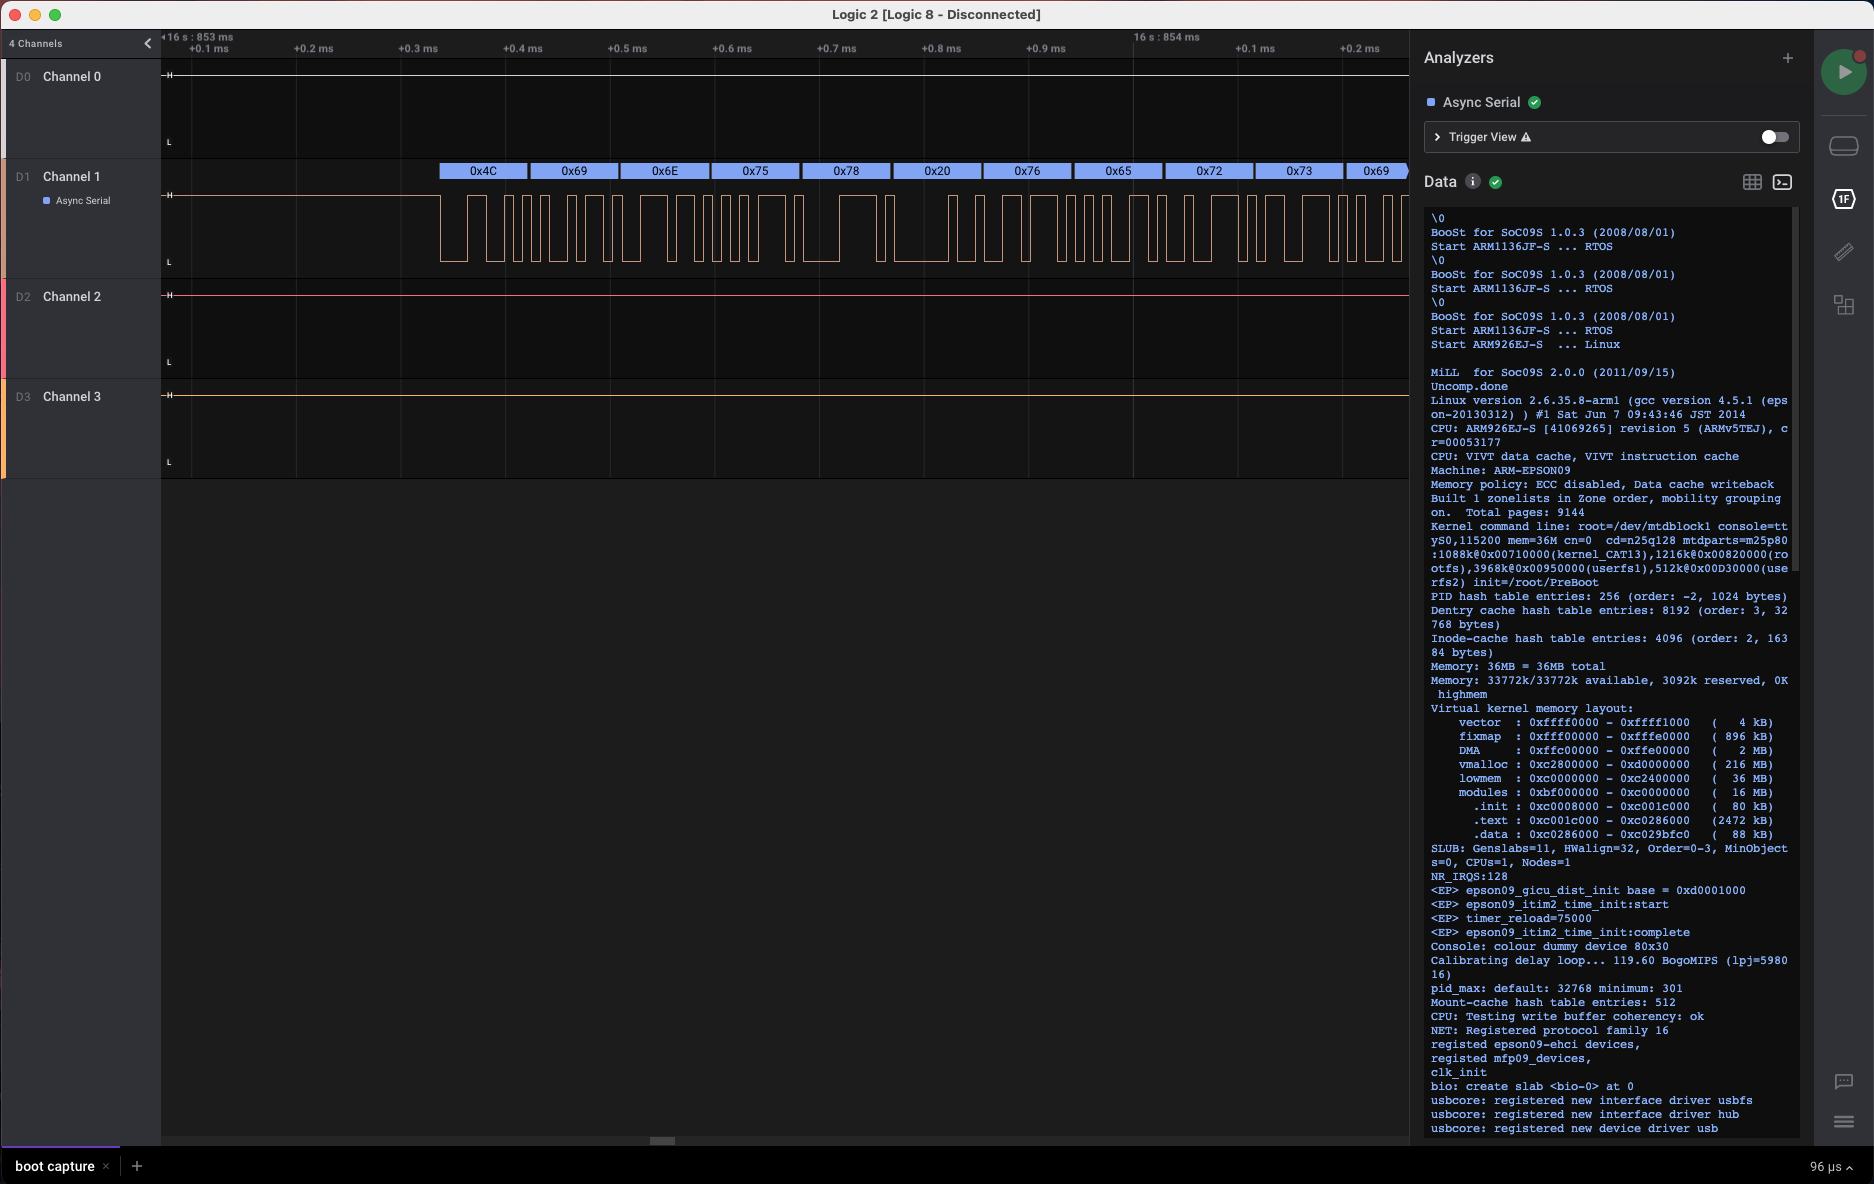
The system boots and loads some modules but fails when it can’t detect the wireless module. In the next part I will connect up the peripherals, hopefully get a successful boot, then hook it up to my computer so I may talk to it via serial.