This is another tutorial about setting up a penetration testing lab on a cloud server. In the previous post I showed a way to use VirtualBox to create a quick and dirty VM. There are some drawbacks to using that method, mainly the display, which requires exposing a RDP port.
This time we are going to use QEMU/KVM and Libvirt to manage our virtual machines. A huge advantage this has is the plethora of tools available to manage the VMs, which can be connected through SSH. This is in my opinion the better method.
Motivations
My daily driver is a i5 Macbook Pro with 8GB of RAM, which works well for most dev and light hacking purposes. But the poor laptop starts to strain when I have to run a VM or two, to test an exploit on a specific distro, or running Boot2Root boxes for example.
Create and connect to a droplet
Like last time I’m using DigitalOcean to host my instance, if you’re signing up use this link to get $50 credits. To follow along, create a Ubuntu 18.04 droplet, I recommend giving it more RAM and CPU but for this tutorial I’ll just be using the $20/mo standard droplet.
Note: DigitalOcean has nested virtualization enabled, if you’re using another host remember to check for VT-x in cpuinfo.

Remember to add a SSH key, if you don’t have one read this.

Creating the droplet should take a few minutes, once that’s done get the IP from the droplet’s page.

Connect to the droplet with SSH using the following command.
$ ssh -l root -i id_rsa <droplet ip>
You don’t have to specify the SSH key to use (-i) if the keys are in ~/.ssh.
Installing QEMU/KVM and Libvirt
Here’s the fun part, then only thing we have to do on the server via SSH is to install the virtualization programs.
$ apt install qemu-kvm libvirt
Then start libvirtd.
$ systemctl start libvirtd
$ systemctl enable libvirtd
That’s it! Now exit and do the next steps on your computer.
Installing virt-manager
The virt-manager application is a desktop user interface for managing virtual machines through libvirt. It primarily targets KVM VMs, but also manages Xen and LXC (linux containers).
Head over to https://virt-manager.org/ and look for installation instructions for your OS.
I’m on a Mac so I’ll use the Homebrew tap by jeffreywildman.
$ brew tap jeffreywildman/homebrew-virt-manager
$ brew install virt-manager virt-viewer
Connecting via virt-manager
Start virt-manager, preferably from the terminal (you will see why soon).
Click File > Add Connection….
Then under Hypervisor select Custom URI…, where you will be asked to enter a custom connection URI for your Libvirt server. Put the following URI in, replacing the username and host with your SSH login.
qemu+ssh://<user>@<host>/system?socket=/var/run/libvirt/libvirt-sock
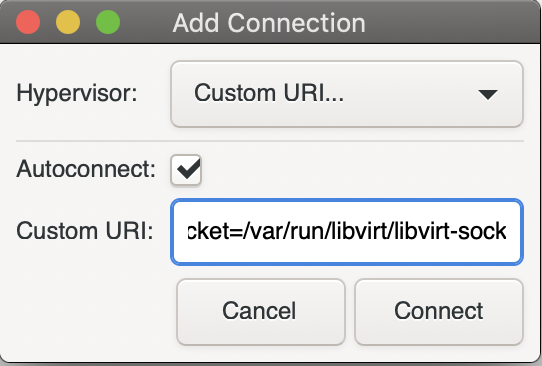
Note: Your SSH key must be in ~/.ssh to connect properly.
Here we tell virt-manager to connect to our host via SSH, pay attention to the terminal you lauched it from, it might prompt you for a password or to unlock your SSH key.
The Libvirt UNIX socket is specified explicitly, I had trouble connecting without this so be sure to check if it exists.
The default user with access to Libvirt is root, you can change this by adding other users to the groups qemu and libvirt.
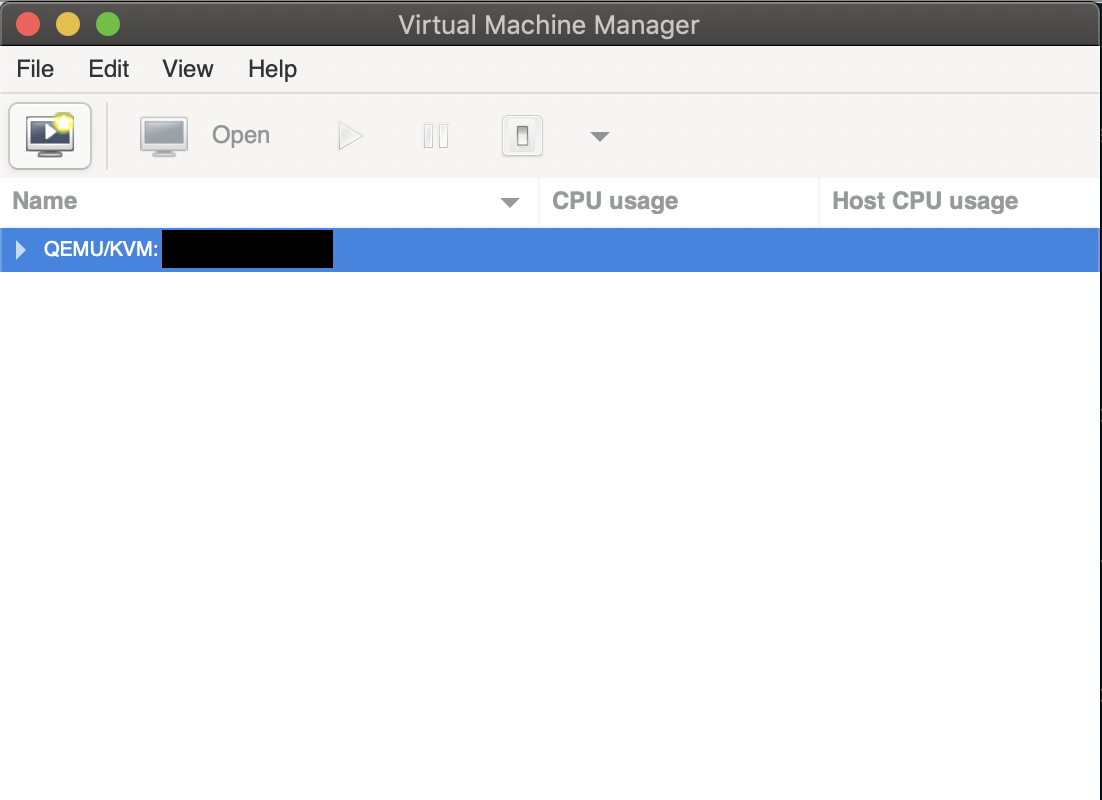
If everything goes well you should see something like this.
Networking
Next we’ll use virt-manager’s networking utility to setup an isolated network for our VM to use later.
Go to Edit > Connection Details > Virtual Networks where you’ll find a default network. Usually I would disable this as it has forwarding enabled.
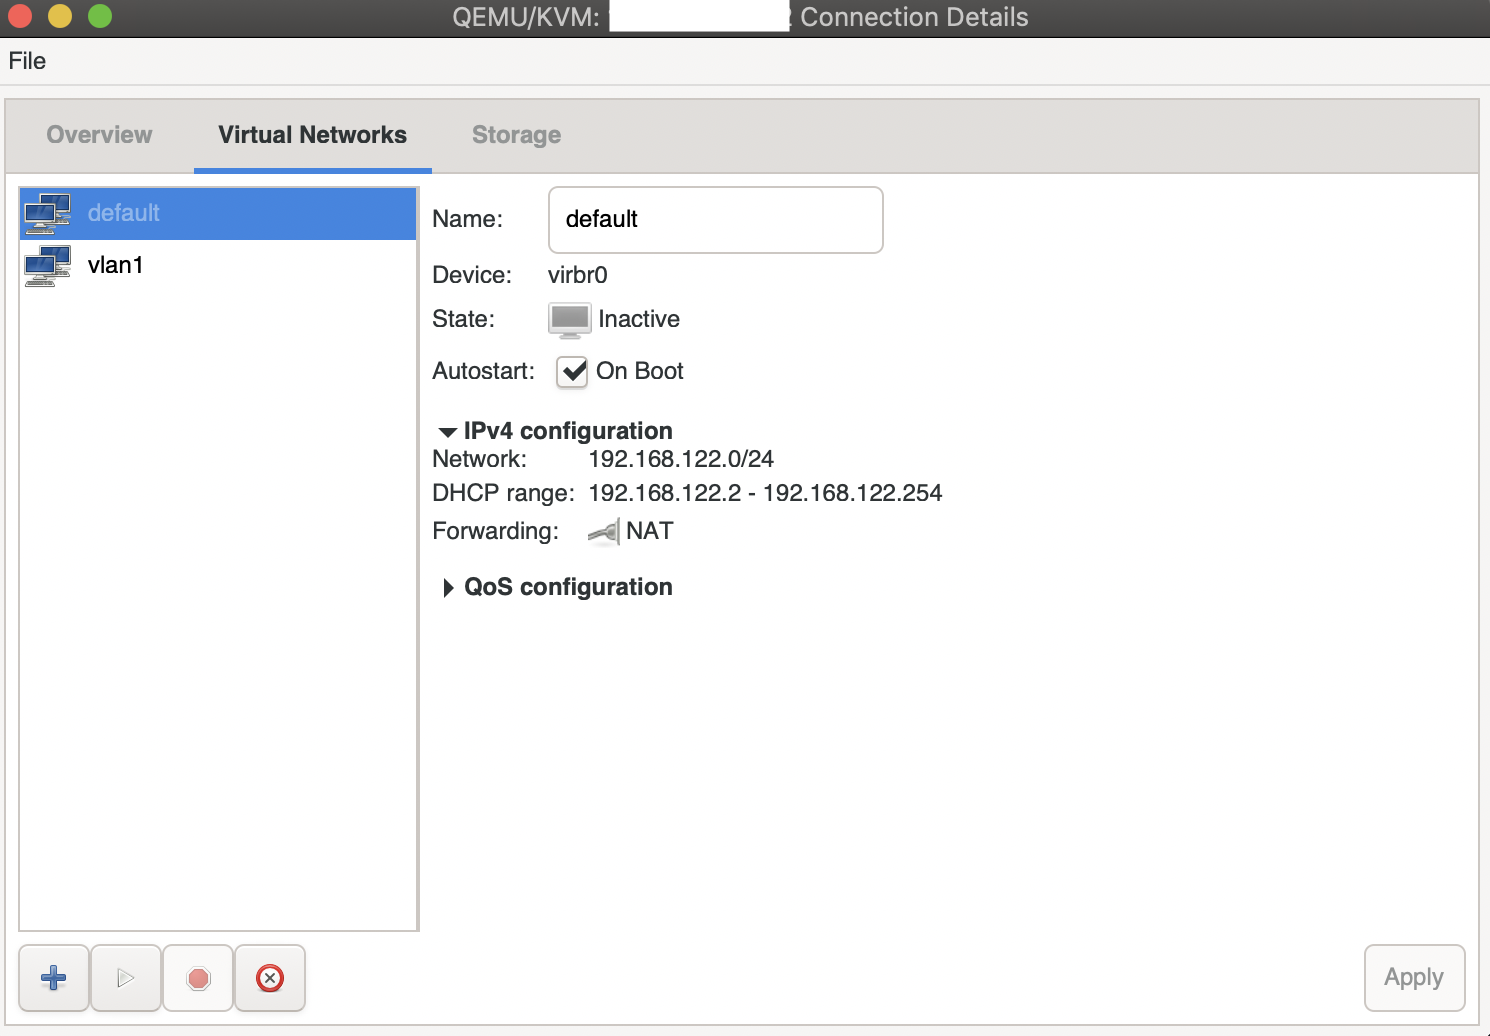
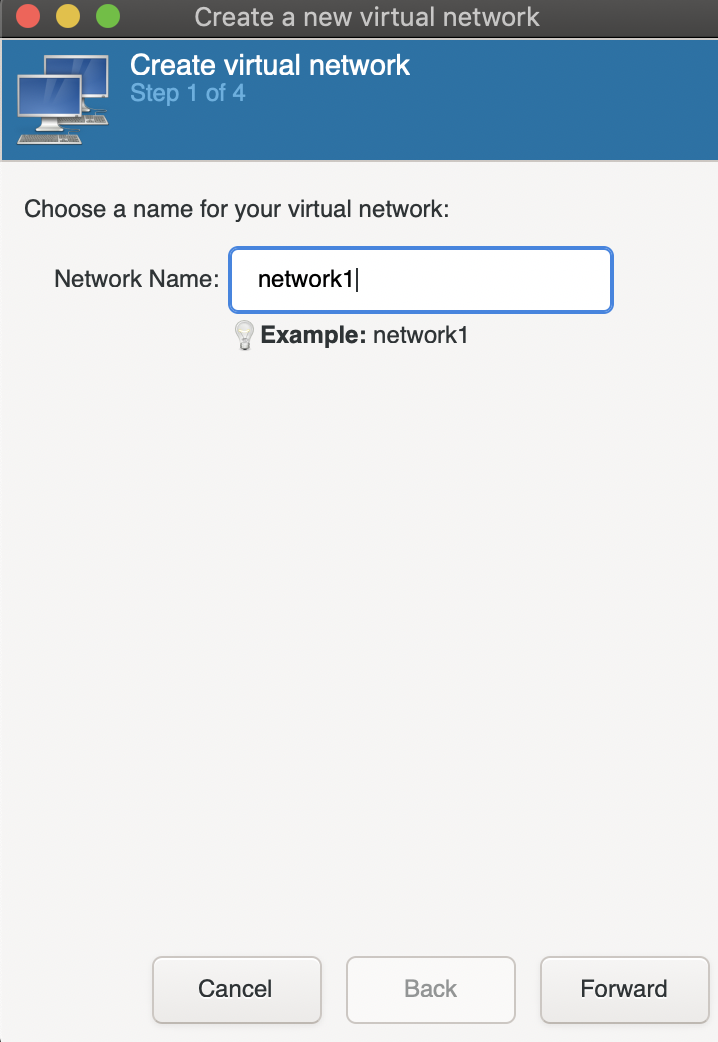
Click on the bottom left plus icon to add a new network and give it a name.
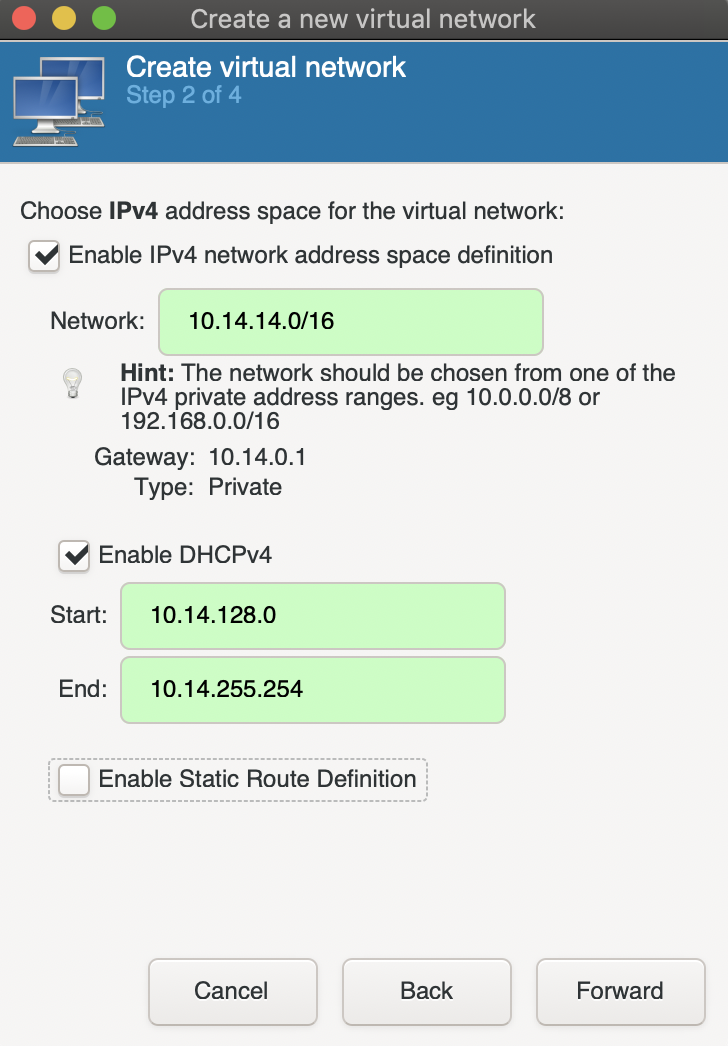
Specify an IPv4 range for the network, this should be something like 10.69.69.0/24, 10.69.69.0/16, or 192.168.69.0/24.
Enable DHCP so that the VMs will be assigned IPs.
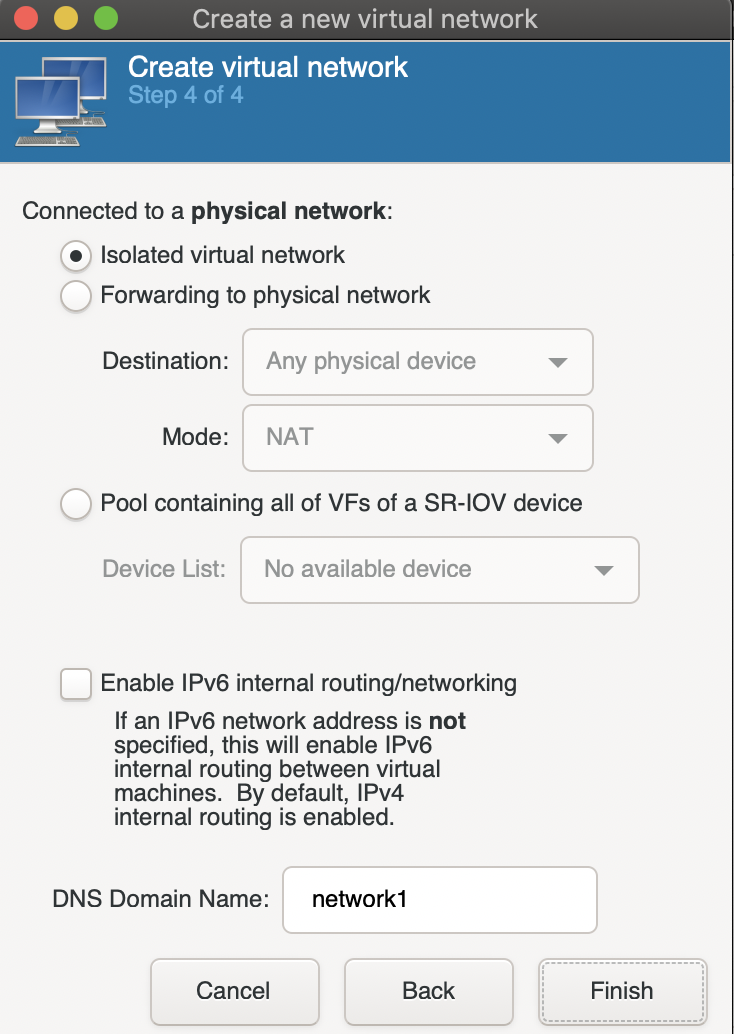
The next screen configures IPv6, which I’m not going to use so I’ll keep it disabled.
Finally choose Isolated virtual network to disable forwarding.
Adding a VM
Before we start, download your VM’s iso on the cloud server, you may use scp to transfer files from your computer.
If you’re installing an .ova or .ovf file, refer to this page for instructions on how to convert it to a QCOW2 image.
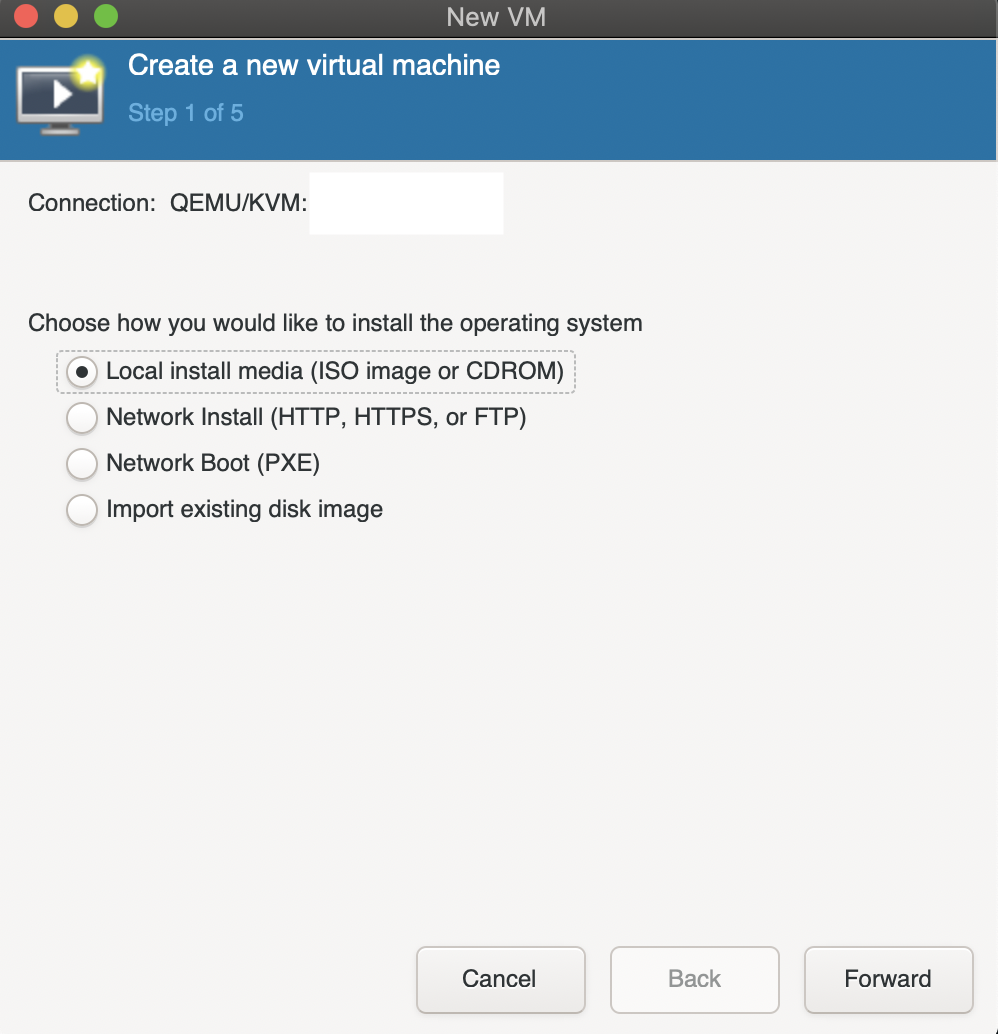
Create a new virtual machine and if you are doing a fresh install (iso) choose Local install media. If you are importing a QCOW2 image choose Import existing disk image.
The next screen prompts for the storage location, click Browse to select one. If you don’t see your directory listed click the bottom left plus icon to add it.
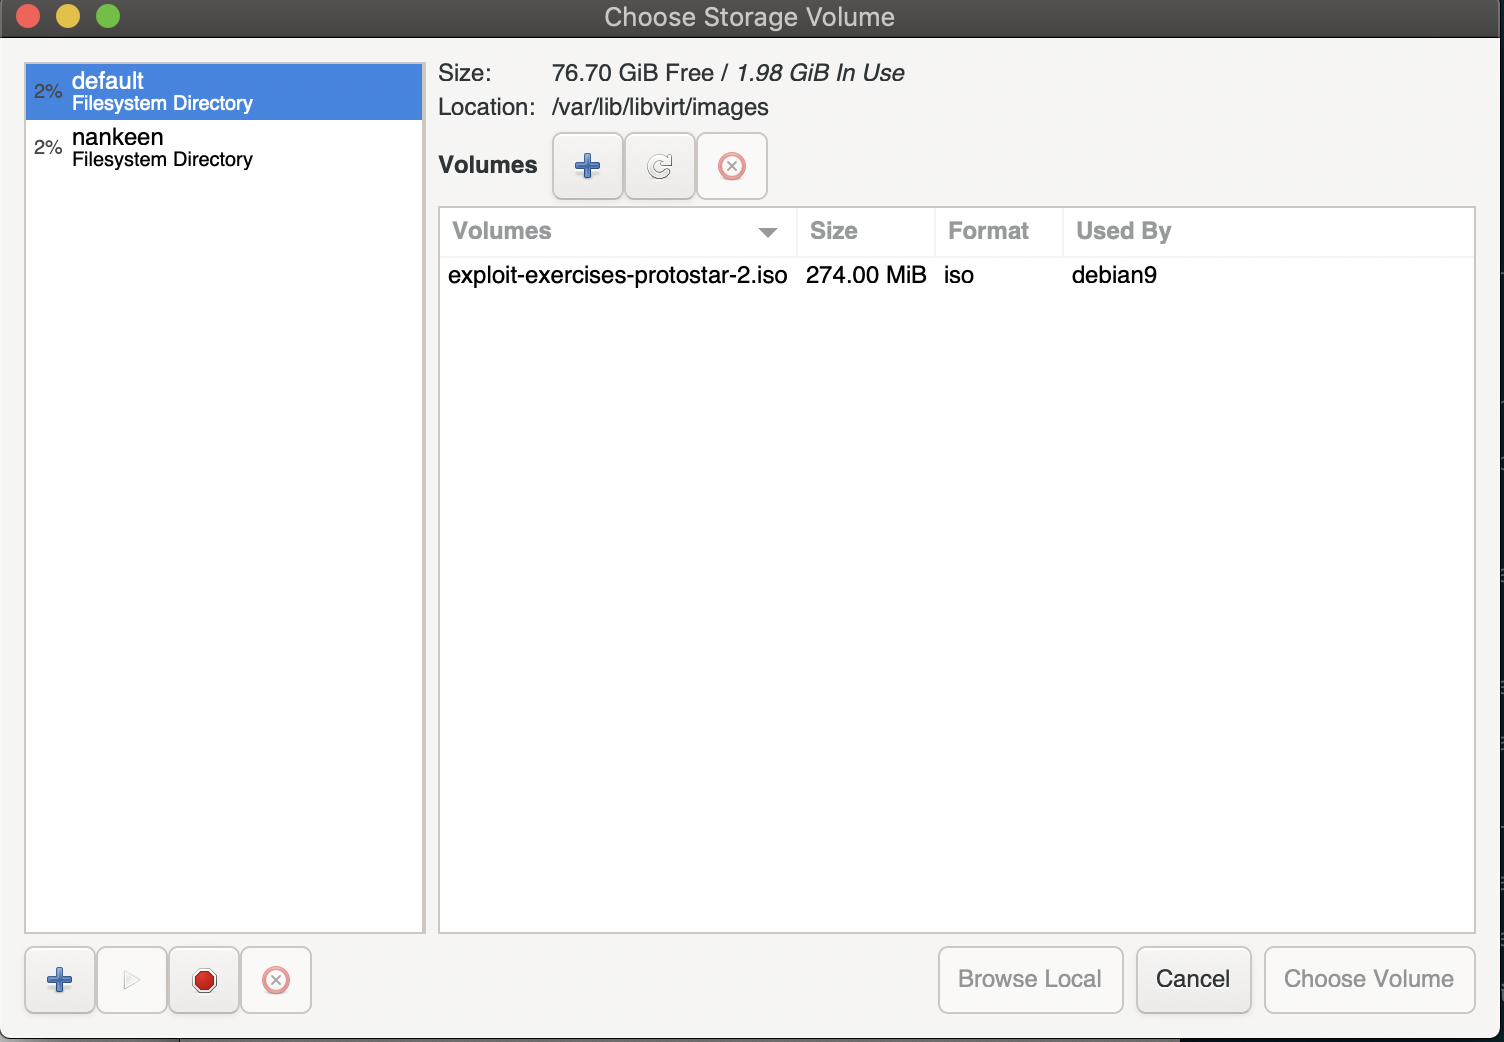
Once you’re done, you have to choose the VM’s OS in the text box below.

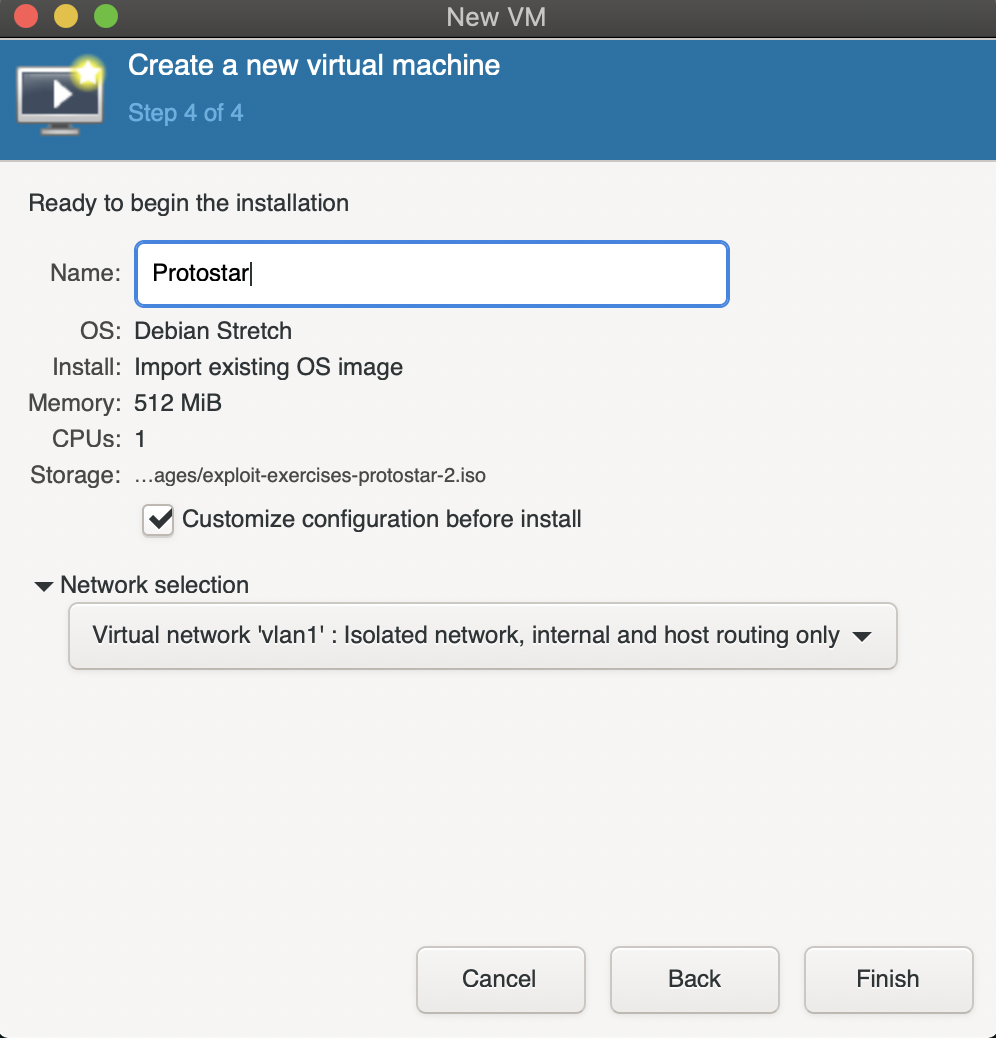
Allocate some memory and CPU.

Now select the network created in the previous step and you’re almost done.
Before you finalise, there’s one thing that might make the lives of those who are using SSH keys easier. Check the customize box.
By default, the display server is configured to use SPICE. But SPICE requires us to make a few more SSH connections, which means you would have to unlock your SSH key around 7 times in the terminal.
Typing your password 7 times everytime you want to view the display is quite tedious, so let’s switch to VNC which requires just 1 more connection.
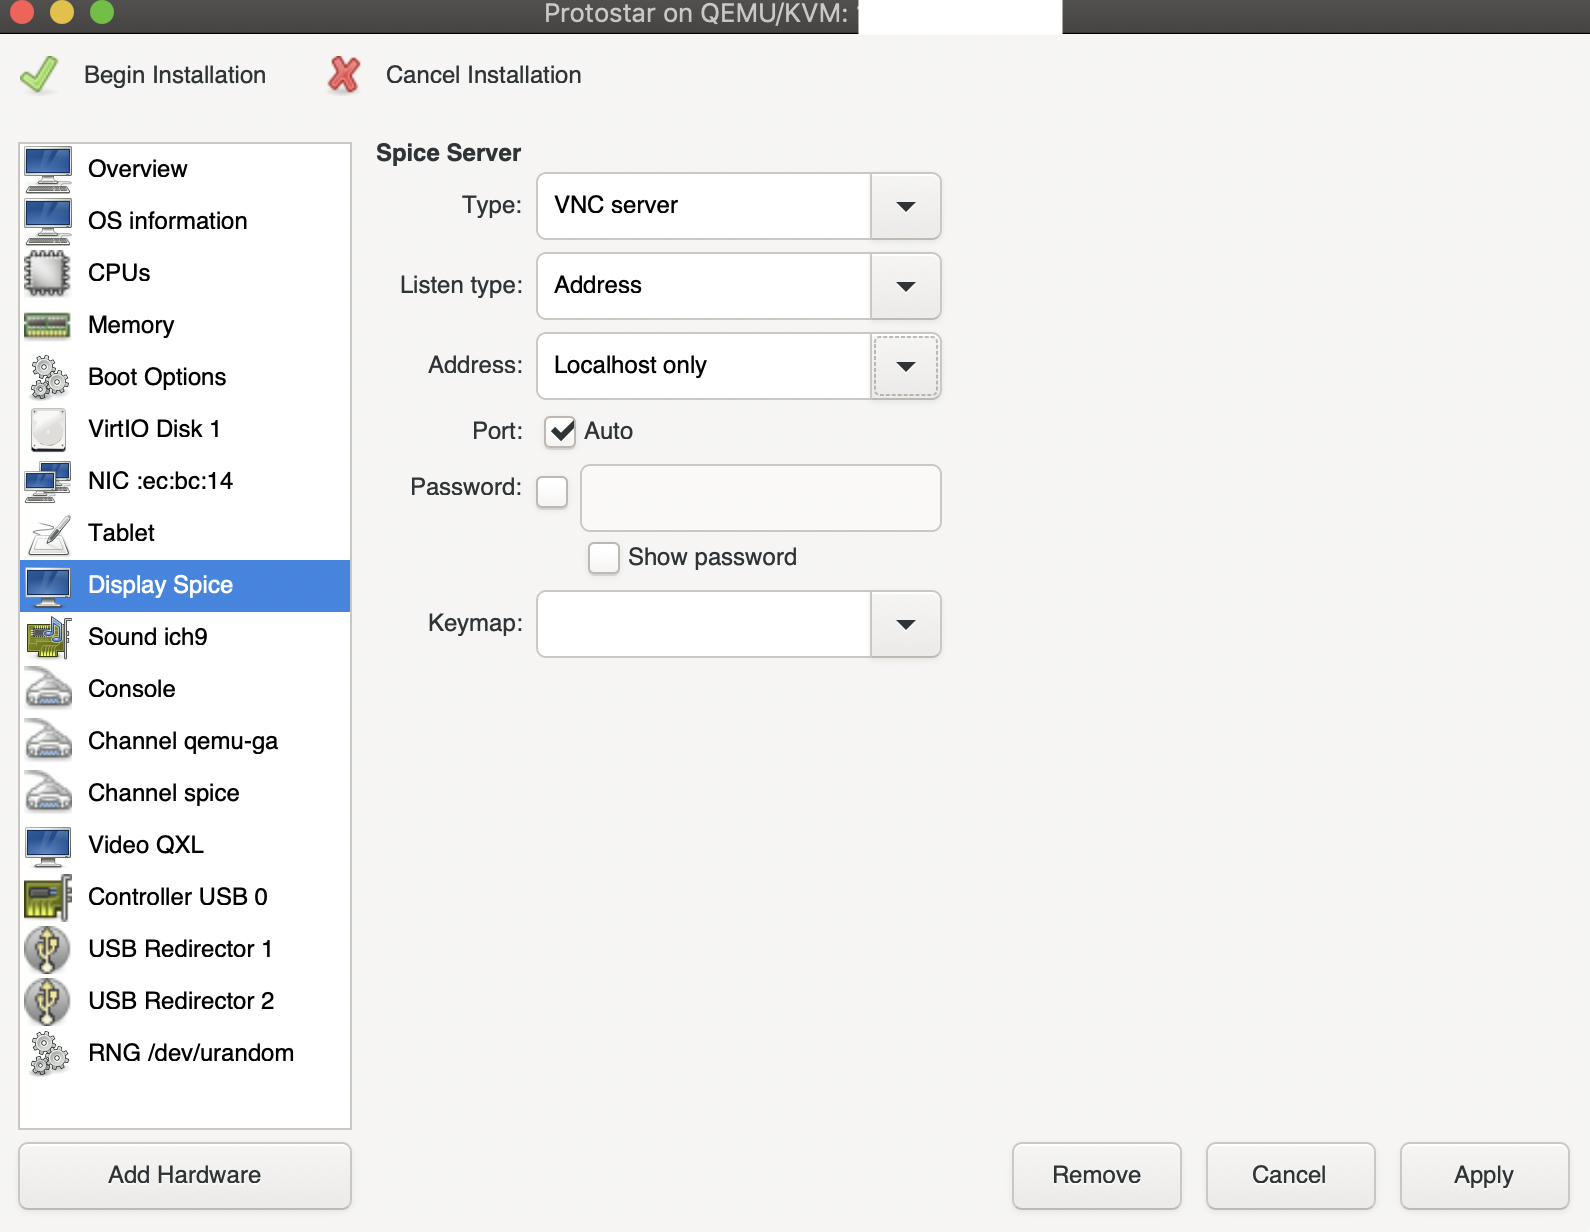
Note: Setting Address to Localhost only is important for security reasons.
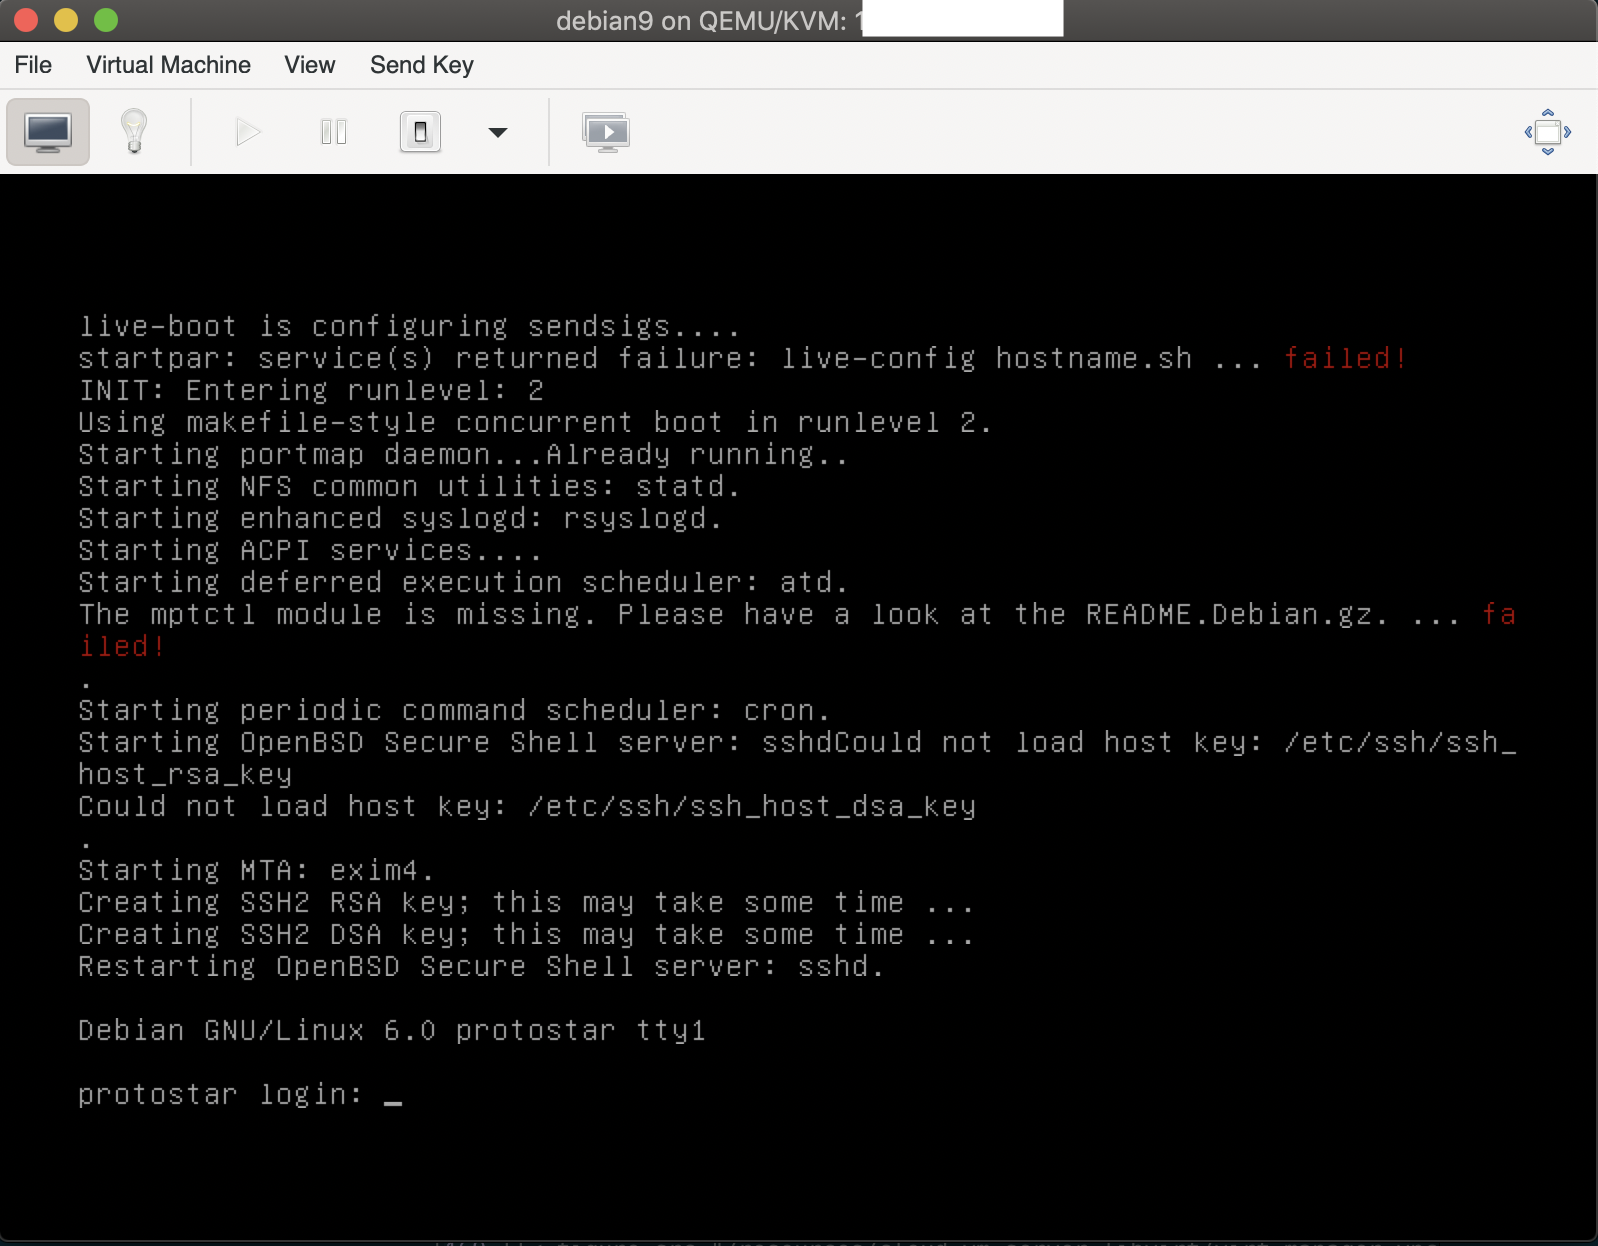
Hit Begin Installation and setup your VM (domain)!